Scrolling

Tiny Cabin Bathroom Sneak Peek - Plus a Few Questions!

*GSI Ceramica and Cristina Rubinetterie are kindly partnering in our project. 

I can't tell you how much progress we've made in the bathroom at the cabin* since I shared the original plans. After a copious amount of work (who knew a 3.6 m2 (38f2) bathroom could take up so much time?), it's finally coming together! In fact, it's almost finished, woohoooo! Here are some snapshots of the progress which I snapped with my phone. Oh, and I'd love to hear your thoughts on some of the final details too. 

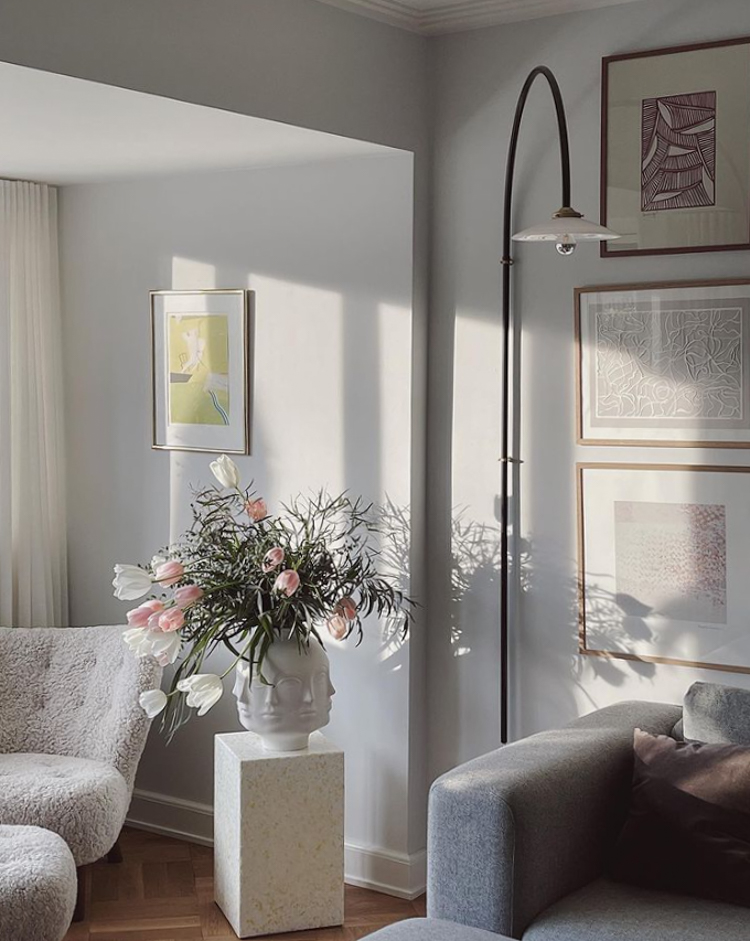
It's been fun to see the space come together - one layer at a time, starting from the bare bones. 

Wall tiles
For the shower and lower section of the wall we chose matt white square tiles with a simple white grouting (I felt this would give a cleaner, less fussy look in such a small space). 

Wall mounted loo and taps
I love a wall hung loo (specifically the WC Kube X from GSI Ceramica) they look so sleek and also help to contribute to an airier feel in a small space. I was also keen to install wall mounted taps (I selected the Basin Mixer CRITV257 from series Tricolore Verde by CRISTINA Rubinetterie)However, in order to achieve this we needed to build out a section of the wall by 15 cm (wide enough to fit a Gerberit cistern). I was a little nervous as it's already a narrow bathroom - but actually, I'm thrilled with the result. The shelf has turned out to be a real bonus!  

Bathroom paint colour
For the ceiling and walls (without tiles) I went for Kalk from the Jotun Lady Aqua bathroom range. It's a lovely, soft, warm tone which compliments the matt white sink and loo as well as the stone floor. 

Wall mounted sink and cabinet
Here's a close up of the sleek, timeless Kube X washbasin (60 x 47) in matt white. I'm so happy with it as well as the Prisma Unit cabinet (also from GSI Ceramica) - it's perfect for storage, and since the entire unit is mounted, it gives the illusion of space. 

Taps and shower
Above and below you can see a close up of the basin Mixer CRITV257 and External Thermostatic shower mixer with overhead and hand shower CRITV486 from CRISTINA Rubinetterie. The 'brushed old brass' finish has a beautiful patina and adds so much texture. 

Shower door
We still need to add a glass wall (80 cm wide) between the shower and sink. However, I haven't decided if we also need a shower door (70 cm wide) across the front, what do you think? 

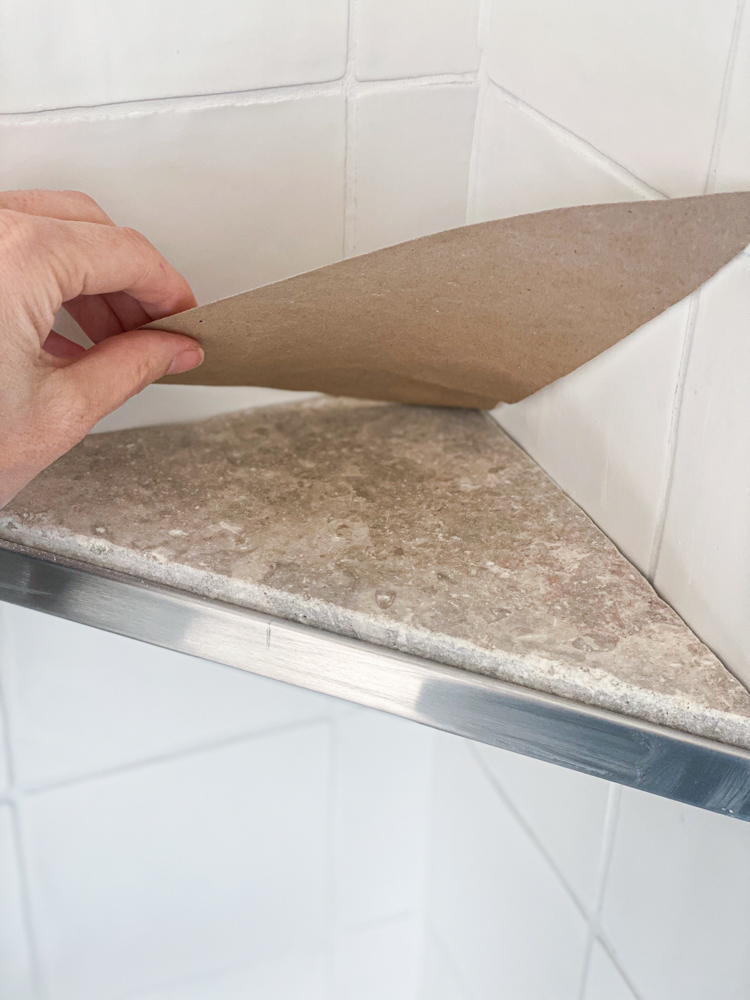
Floor tiles and details
And finally - the stone floor. I sourced the Tumbled Turtle tiles from Swedish brand Stiltje (I love the owner Pamela; she has incredible taste!). We really splurged on these and once the floor had been laid, there were a few tiles leftover which we used for the ledge above the sink and a corner shelf in the shower.  

I hope you like what we've done so far! I'm so excited the bathroom is nearly finished. We're on the home straight! 
 
The next step is to add:

1. A shower wall and potentially a shower door 
2. A privacy film inside the garden glass door (or should we go for a blind?) 
3. A loo roll holder - any thoughts on where this should go? 
4. Hooks for towels, robes, swimwear etc. 
5. All our toiletries! 

I'd love to hear your two pennies worth! 

Hopefully it will all be finished in the next few weeks - I'm so looking forward to sharing the final reveal once everything is in place!

Niki

All photos taken with my iPhone. 

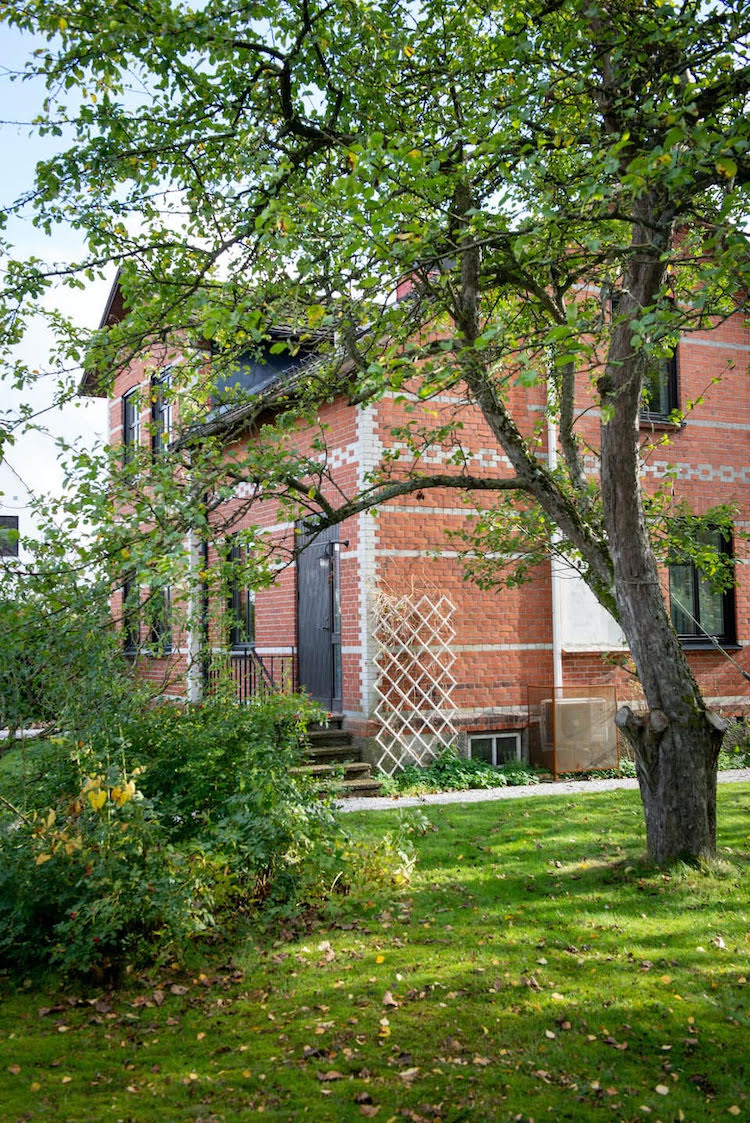
*For those of you who are new to My Scandinavian Home - Per and I are building a 30 m2 (323 f2) cabin in the garden of my Mother-in-law's summer cottage on Sweden's West coast. You can see the plans here

Twitter FaceBook

Pin It
25

Before & after: A Copenhagen Town House Is Transformed Into a Fresh Family Home


I love seeing the before and after shots of a space, do you? It really demonstrates the vision and level of work that has gone into an interior. Today, I thought I'd take you on a tour of Maria Elisabeth's house in Frederiksberg, Copenhagen. I once had the pleasure of visiting a house on the same street for my book The Scandinavian Home - and fell in love with the leafy neighbourhood. 

When Maria Elisabeth and her boyfriend Niels bought the house in 2019 it needed work. "It was in a state and was in really bad shape," Marie Elisabeth recalls. "There was a hole in the roof, water damage etc." The pair set about renovating every room single in the house, putting in a new kitchen and bathroom as well replacing the floors in the process. The couple moved in in 2020 and now enjoy a beautiful home with their three children Carl Oscar (7). Esther Emilie (5) and Wilmar Emil (1). Here are some snapshots of how it looked before they started, and how it looks today: 

Kitchen before

Kitchen after

The kitchen was completely gutted. Today cabinets from Stilleben Architects - who pride themselves on kitchens and interiors made to last for generations - add a beautiful, timeless touch, while the bare upper walls help to bring the look up to date. 

The walls have been painted in Clunch Farrow & Ball


Living room before

Living room after

The sitting room areas were also given a total overhaul - with the exception of the beautiful parquet floor which was carefully maintained. 

The custom-built cabinetry and shelves around the doorway are a classic Danish trick for displaying books, art and other items.

The walls have been painted in colour code NCS 1000-N. 


Hallway / stairs before

Hallway after

A fitted carpet was stripped away to reveal the wood, which has then been given a fresh lick of white paint. The walls have been painted in Raw Canvas by Jotun

Guest bedroom before

Guest bedroom after

The A-frame ceiling has been partly filled in to seal the hole in the roof and add insulation, while part of the beam structure (which has been stained white) adds character to the space. 

The walls have been painted in Touch of Grey by File Under Pop

Bathroom before

Bathroom after


The dated tiles were swapped out in favour of a cleaner finish - including a terrazzo floor from Råform- and the shower was reduced in size to make space for a loo. 

The love taps, shower head and loo flush are all by Vola. The walls have been painted in Cream by File Under Pop and the lamp is from Flos


Garden before

Garden after

The garden was reconfigured to include a storage unit with a turf roof - as well as two separate social areas, one for dining and one for relaxing! 

All in all, a beautiful, fresh transformation - which I understand, was a lengthy labour of love - but so worth it! 

Is there anything that stood out to you about Maria Elisabeth's renovation? You can see more pics over at @husetpaafrederiksberg and also find out more details about every room in her instagram highlights. 

Would you like to see a few other Danish before and after tours today? I love these: 

A dated 1950s danish house gets a fabulous makeover 

I hope you have felt as inspired by all these renovations as much as I have been! Got to love the Danish flair for design! 

Niki

Photography @husetpaafrederiksberg - shared with kind permission. 

Twitter FaceBook

Pin It
8

An Old School Becomes a Light and Airy Family Home

I seem to have gone down a rabbit hole of Dutch homes lately. It all started with cabin Anna on Thursday, and then yesterday I shared Michiel's harmonious home. And today - I couldn't resist sharing this converted schoolhouse in Rotterdam!  When Aquine, Robbin, Nora and Nood first acquired the property it needed a major amount of work. But their extensive efforts have paid off and today the family enjoy an incredible, light-filled home with sky high ceilings, floor to ceiling windows, open-plan living spaces and a beautiful inner-city garden. Here are a few before and after pics: 


Before

The former school needed a massive amount of work in order to convert it into a liveable space. As well as structural work, a mezzanine floor was added to create space for a living room. 
 
After


In the open plan kitchen, the wooden ceiling has been left exposed to add warmth - a perfect way to balance the coolness of the concrete floor. A pink accent wall also helps to add softness and break up the monochrome theme.

I love this vibrant bouquet - it instantly lifts the spirits and adds a wonderful splash of colour!  

Bikes are as big a part of life in Holland as they are in Scandinavia. This one is so elegant it can be stored in the sitting room area and actually adds to the space (mine wouldn't look quite as aesthetic as this!). 


The bathroom in the bedroom is bound to get tongues wagging in the comment section. I've always thought they're pretty cool as they have a luxury hotel-like feel. I'm not sure everyone agrees though! 

The bed is from IKEA (I was freelancing there when it was first launched and I loved to see how IKEA interior designers styled it: the rail can be used for clothes, hanging plants or nice fabric! The mirror is also IKEA. 

Garden before

The former school playground was extremely barren and need to be re-worked from scratch to transform it into a garden and outdoor social area. 

After

'Pardon the weeds, we're feeding the bees'. I love to see wildflower gardens - it's something I wrote about in my Lagom book. They provide a wonderful home for insects and look pretty too, I'd choose this over a lawn (if I had a garden big enough!). 

A patio area serves as a place to cook, gather and play come summer. 

In all, a lovely property - and knowing that it used to be a school makes it even more special. 

Is there anything that stood out to you? 

See more pictures (including the children's rooms) over at @oldschool.newschool

Would you like to see a few other conversions? Check out these amazing archives: 


Do you have a favourite? 

Puss or kram! 

Niki

Photography courtesy of @oldschool.newschool - shared with kind permission

Twitter FaceBook

Pin It
6

A Swedish Country House is Restored to Its Former Glory


Long term readers will no doubt remember this atmospheric Malmö home.  Owners Emelie and Magnus have since moved to North West Skåne, South Sweden and have been working their magic on a dilapidated country house dating back to 1910. I've been eagerly following their progress over at @foreningsgatan14 and am excited to share a sneak peek of their new home - from the mood boards and DIY, to the final result!


Before

"The house was built in 1910 and is a red-brick villa laid out over two floors and sits on a 1600 metre square plot of land."

"We fell for the exterior and the potential to restore it back to its former glory. We moved in 2.5 years ago - following in the footsteps of some friends who had also bought houses in the area. Now we live 150 metres from each other!"

"We have renovated most of the interior but still have a little to go!" 

Ready to take a look? Let's start with the kitchen! 

Emelie wanted the kitchen to have lots of traditional charm to match the era of the house, while still creating a highly functional space. 

The couple installed bead panelling and French black and white floor tiles which they combined with kitchen fronts from Järfälla Kök who make units designed specifically to fit IKEA kitchen cabinets. 

The house is full of vintage and antique finds - some of which they brought with them from their previous home in Malmö. The wonderful Beni lamp is from Dis Inredning. 


The sitting room wasn't perhaps the cosiest space to begin with.

But after some hard graft and a lot of patience, they eventually transformed it into this 'mysigt' space to curl up and chill! 

The cosy library, which leads of the sitting room, is one of Emelie's favourite rooms - understandably! 

The bathroom has been another huge project. 

"After an enormous amount of going back and forth, hesitation and sleepless nights, we finally created a moodpboard for the bathroom. We were looking to create something a little romantic and unpolished but at the same time classic and timeless." 

The look was created using bead panelling painted in a wheat hue, as well as tiles from byggfabriken and pronto kakel

I love how they have still managed to install two sinks in a small space. How I'd love my own sink - is it me or do children always leave dried toothpaste all over the bowl? 

The vintage storage totally completes the look - and it's practical too!

What a lovely transformation. It's so fun too see it take shape too, don't you think? 

You can follow Emelie and Magnus' renovation journey over at @foreningsgatan14.

Would you like to see other Scandinavian renovations? I love: 


Is there anything that stood out to you about Emelie's home - or any of the other before and after features? I'd love to hear your thoughts! 

Niki

Photography: picture 1 Jenny Baumgartner / BMB, the rest - Emelie Tjäder / @foreningsgatan14

Twitter FaceBook

Pin It
3

Subscribe To My Scandinavian Home

Subscribe to My Scandinavian Home

skovby ad


site by ANAAR

This website uses cookies to ensure you get the best experience on our website.
MORE INFO