Thank you so much for all your lovely comments about our summer cottage master bedroom makeover on Wednesday. Per and I are so happy you like the update as much as we do!
As promised, here is a post about how I transformed the pine wall bracket.
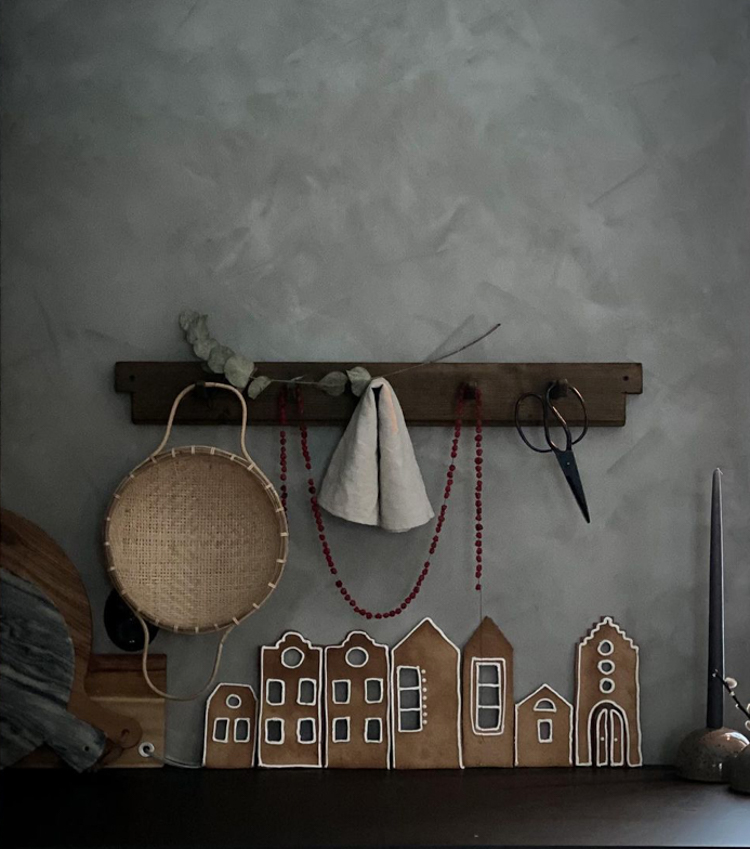
This wall shelf has been hanging on the bedroom wall in the summer cottage for many years (long before I arrived on the scene!). Needless to say, it belongs here! But the varnish on the pine had yellowed with age and while we all love the shape, the outdated look wasn't quite in keeping with the calm style we had envisioned for the newly revamped room.

Caveat: I am not quite sure why there's an old mattress leaning against the wall in this picture obscuring the view - but I hope you get the gist as it's the only shot I have!

So, we took it off the wall and I carried it to my studio where I scrubbed it down with soap and water (an important step!).

I selected Tidlös paint by Jotun Lady to match the Sandberg wallpaper (the great thing about this paint is that I didn't need to sand down the wood first - but if you are looking to carry out a similar project on a wooden item, it's important to check the requirements first).
I applied two layers of paint using two different paint brush sizes - one fairly small (featured) and the other very small (the knobs on the drawers were so fiddly!). Afterwards, I lightly sanded the edges of the drawers to ensure they slotted back into place and could be pulled in and out freely. I've learnt this from my childhood home - I had an antique chest-of-drawers in my bedroom and would need to wiggle the drawer for about 20 minutes just to get to my socks, it used to drive me insane!
Once the paint had dried, we hung it back on the wall using a spirit-level app on the phone (have you tried these types of apps? so handy!).
Aside from drying time, the entire process took about 2 hours.

And hey presto! A brand new shelf!

I hope you like the results and feeling inspired to revamp something unloved too.
Who knows, perhaps you'll be looking at that piece at home that you were thinking about chucking out with new eyes now? Or maybe you'll discover a tired looking item of furniture in a loppis (flea market) that no one wants this weekend and give it a fabulous revamp? If you do, I'd love to see the pictures!
Happy Friday friends!
Niki
 9
9