Hey friends! How are you this fine day?
One of the things I have always admired about Scandinavians is how practical and resourceful they are. Something needs fixing? Out comes the toolbox. Car tyres need changing? Out comes the jack! And this practical approach transcends to the home too. Scandinavian homes might be beautiful, but they're also user-friendly and comfortable.
This comes particularly in handy in a small space, where every inch counts.
A few days ago I was browsing Simply Scandi magazine (if you don't already subscribe, it's a must! And I'm not just saying that because I'm a proud contributor, honest!) - and stumbled across Vasia Moragianni's home.
After her divorce, Vasia and her young son Emil moved into a one bedroom flat in Copenhagen. Determined to ensure privacy and maximise space, Vasia devised a plan to turn the 60 sq.m (645 sq.ft) space into a spacious and bright two bedroom apartment. Read on to discover how!
The original floor plan:
When they first moved in, Vasia and her young son Emil shared a bedroom.

Glossary: værelse - bedroom, stue - sitting room, køkken - kitchen, bad - bathroom, entré - hallway
Floor plan after:
Vasia swapped the bedroom and sitting room areas and removed a wall between the kitchen and sitting room to create one large room. A wall was erected to divide the bedroom into two separate rooms.

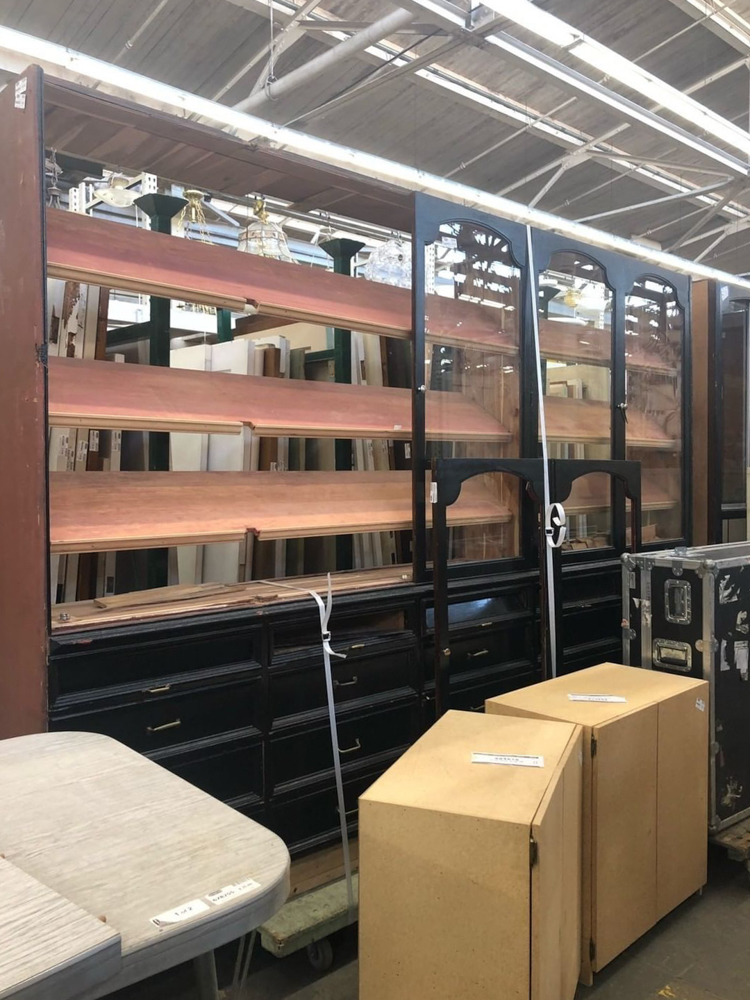
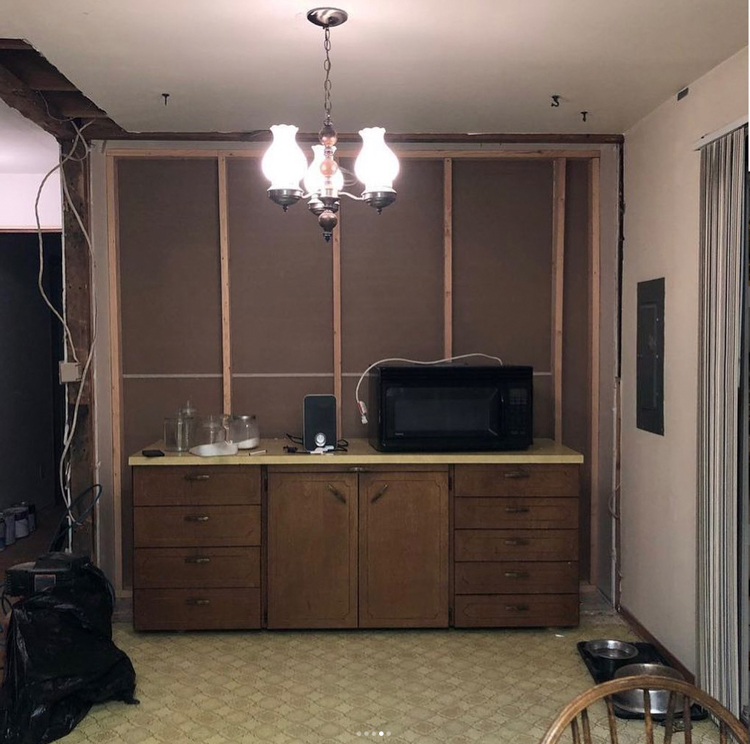
Kitchen before
This is how the kitchen looked before the wall was removed:


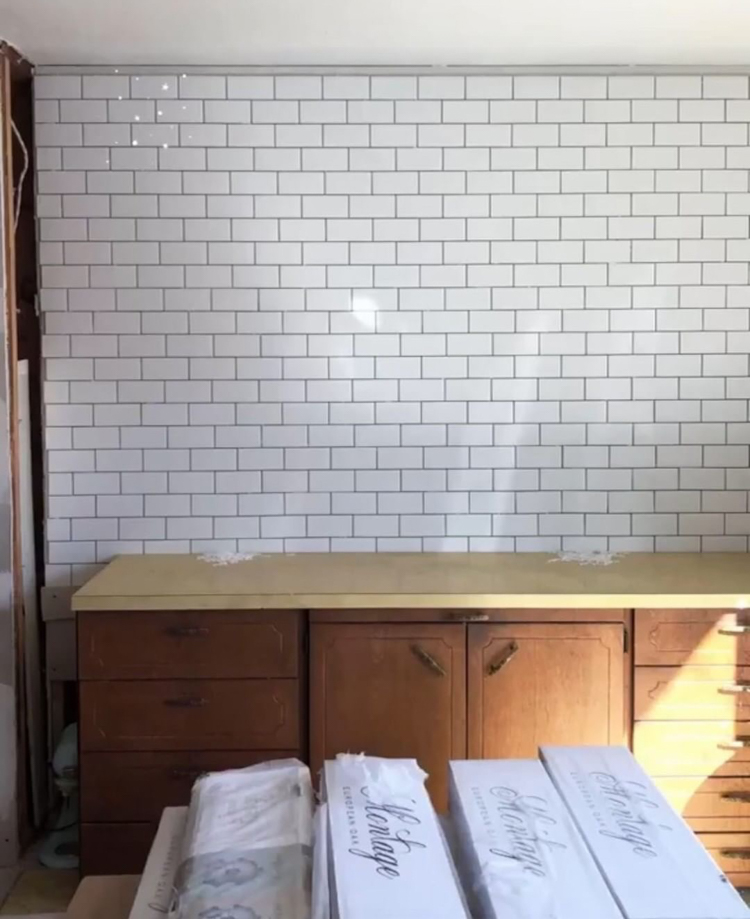
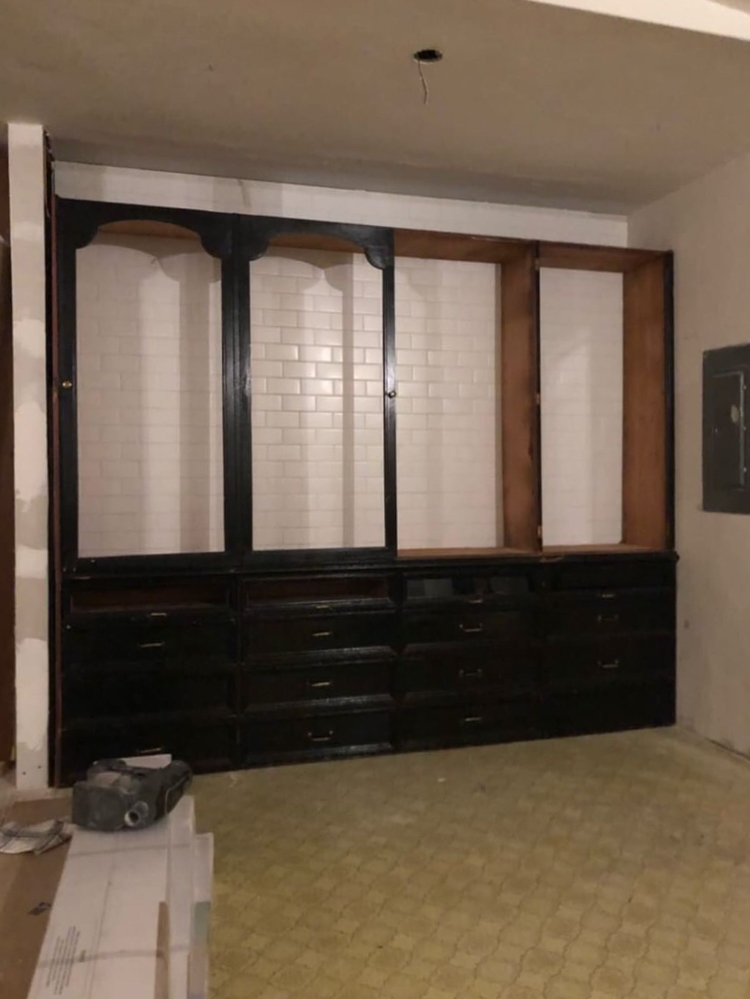
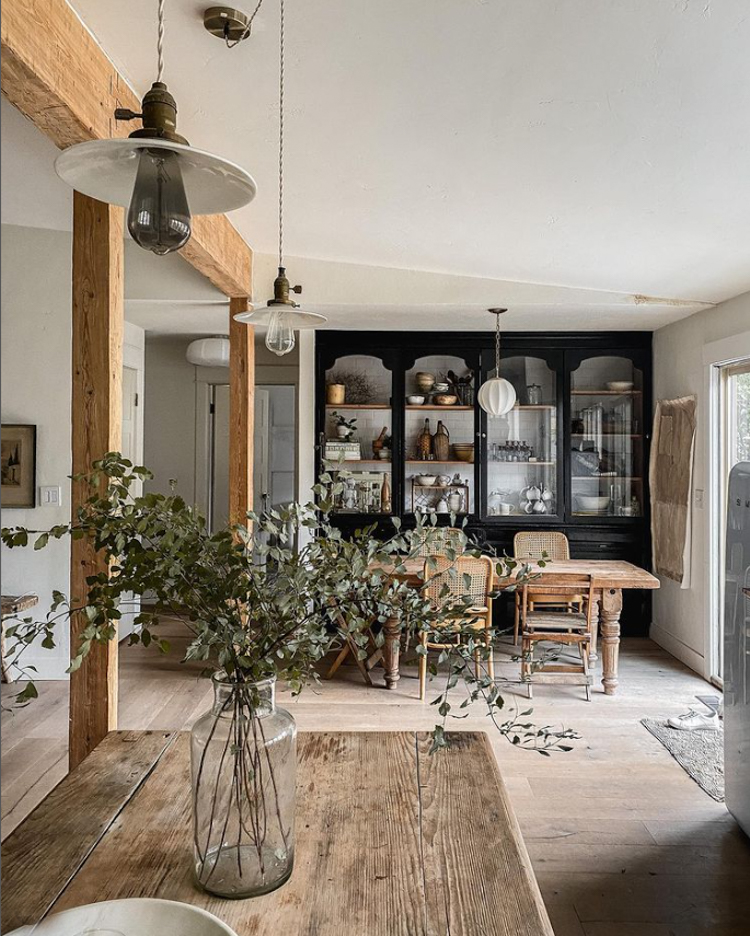
And this is how the room looked after the renovation:


The open-plan space includes a small sitting room and dining room area.

One bedroom becomes two
Vasia was particularly keen to ensure Emil had his own room. The answer was to divide the single room into two.

In order to maximise floorspace, the bed can be rolled through a hatch into the adjacent room, fitting neatly under the raised bed in the adjacent room.


While, initially the larger room doubled up as a bedroom and office. These days, the rooms have been swapped and Emil occupies the larger room. When the bed is removed, he has plenty of space to play!

What a clever idea - so unique!
The best thing about this renovation is that it ticks all the boxes for small space living: it's multifunctional, flexible, has zones for all activities and allows a wonderful flow of light for a spacious feel.
Could you imagine doing something like this in your home? Or perhaps you have a friend dealing with a similar conundrum? If so, please do share this post with them in case the idea comes in handy!
For other small space solutions today, check out:
You might also like to scroll through the entire small space archive which includes ideas for studio apartments, smart room dividers and more!
Thanks so much for dropping by this week. Have a wonderful weekend!
Niki
Photography: 11& 13 Christina Kayser, the remainder by @small_nordic_tales
 3
3