Paid partnership with Elfa, all words and pictures are my own and I only ever work with brands I love and think you will too.
Do you have a neglected room in your home? Despite living in our house for almost fifteen years (wow, has it been that long?), we've never touched our laundry room (except of course, to do our laundry!).
It's situated on the middle floor beside the bathroom and bedrooms and is a small, windowless room - even so it's an absolute godsend!
At the beginning of the year, I declared that this would be the year we'd finally organise our home, and so far, we've created a new wardrobe and sorted Allie's bedroom. And now it's time to give our laundry room some tender loving care, with a little help from Elfa, who make super smart storage solutions.
Here's how we transformed the room from an unloved space to a fresh, beautifully smelling and practical laundry room.
Before

'Don't air your dirty laundry in public' - so the saying goes. Thankfully, everything in these pictures is clean. Even so, it doesn't make it any less embarrassing!
A narrow space, our laundry room has bright blue tiles on the floor, a row of simple hooks along the wall, and a drying rack hanging from the ceiling. The latter was probably our biggest bug bear as it swings around when you try to hang clothes on it, and Per constantly bangs his head on it while ironing his shirts.
Stowed against the wall, the ironing board (which is desperately in need of a new cover - cringe!) often slides down in the night making an alarming clang.

On the opposite side is the washer and dryer as well as shelves where we keep bedlinen and towels (and the odd rogue item such as er, sunhats!). There's also a handy sink and cupboards which we rarely use as they're quite hard to get to beside the hanging dryer.
OK, embarrassing moment over. Time for the fun bit: the transformation!
The plan

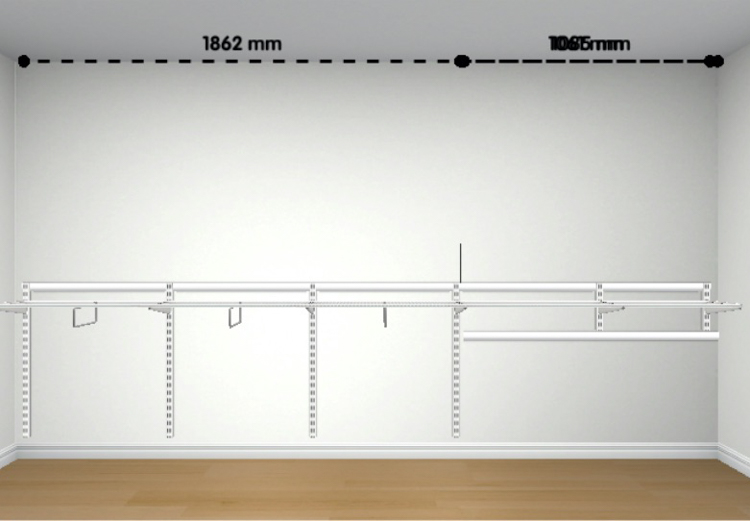
Wall mounted storage
In a small space like this, wall mounted, flexible storage is key. Elfa helped to design this highly functional formation for us. The beauty of this system is that it's centred around wall hung tracks to which you can click-in all kinds of units and accessories such as shelves, drawers, hooks etc. You can also add to the arrangement over time.
The wide section on the left is for two wall mounted clothes dryers and on the right, we'll have space for wall mounted shelves and hooks.
We actually opted for one central bar in the end - but if you're inspired to do something similar and would like to make your space even more practical, you could opt for two central brackets to make your drying shelves even more adaptable to the space.
On door storage
I've had my eye on the on door storage ever since my first post about Elfa. Centred around a central bracket, the baskets can be moved up and down. You can also add hooks. It's perfect place for all our laundry soap as well as other accessories.
Prepping the room

We wanted the space to be more in keeping with the rest of the home. It can be really costly to re-tile, so instead we bought a special V33 tile paint which is especially designed for bathrooms. Per and I applied several layers to the wall (white) and floor (light grey). I've actually never tried a tile paint before and I'm amazed at the results!
The next step was to lighten the shelves and worktop. To do this, we sanded down the oak before applying a special white oil wood treatment and finish by Osmo.
And finally, we painted the rest of the room white before the ELFA units were installed.
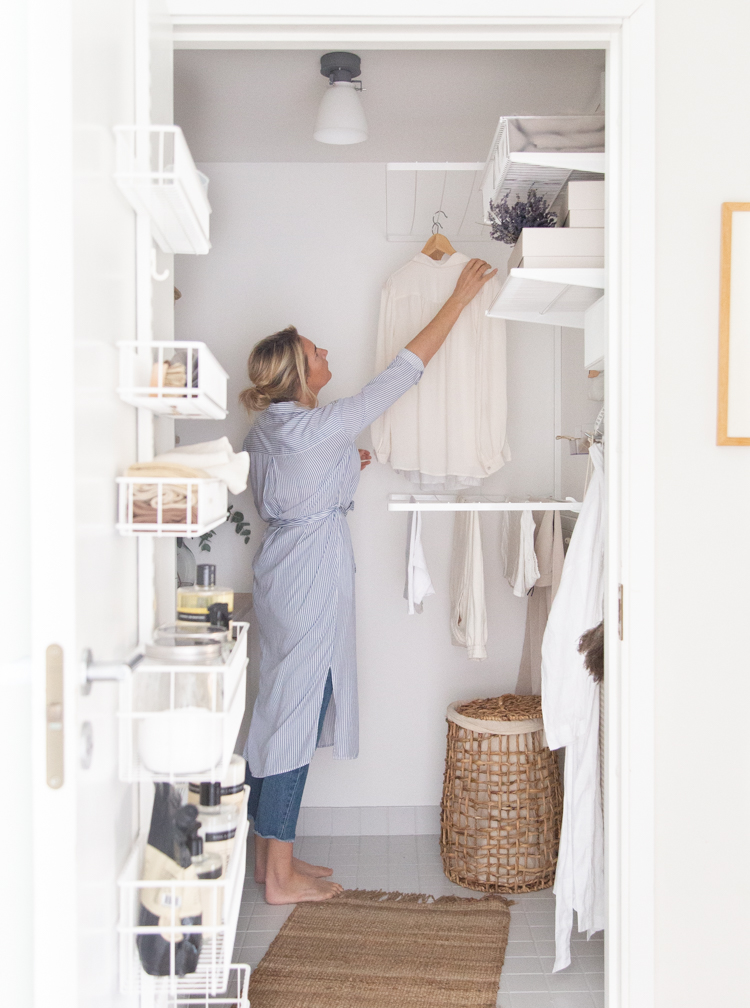
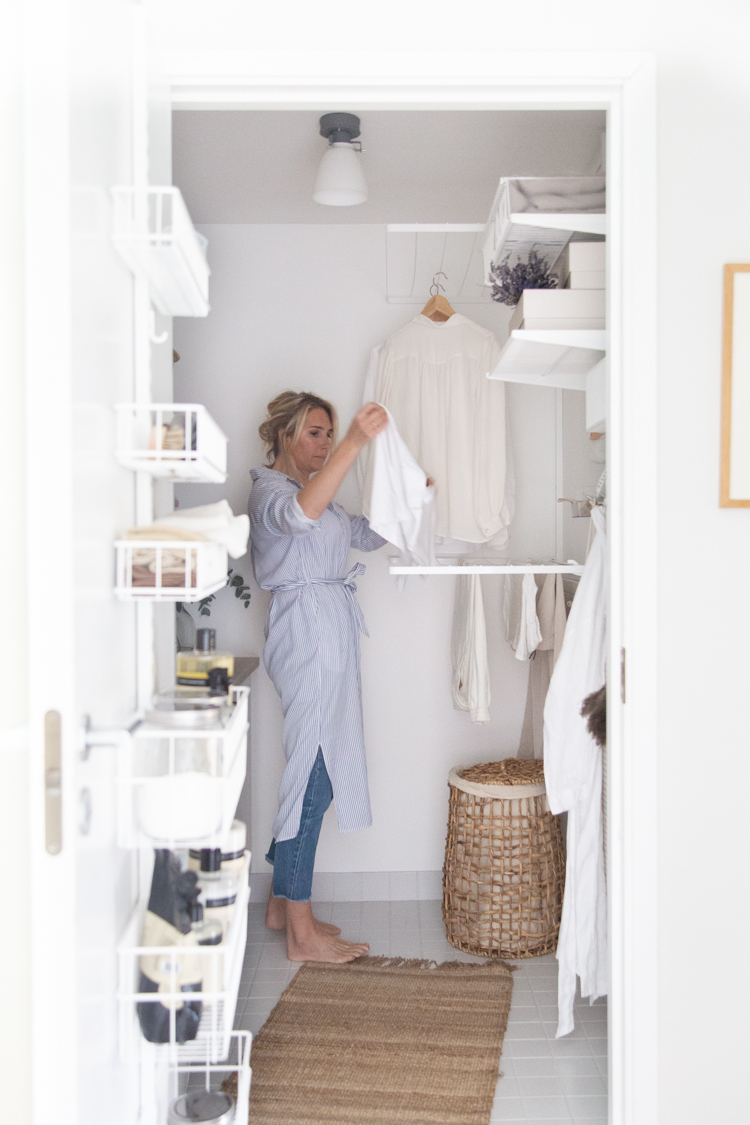
After

Tadaaaa! Can you believe this is the same laundry room?
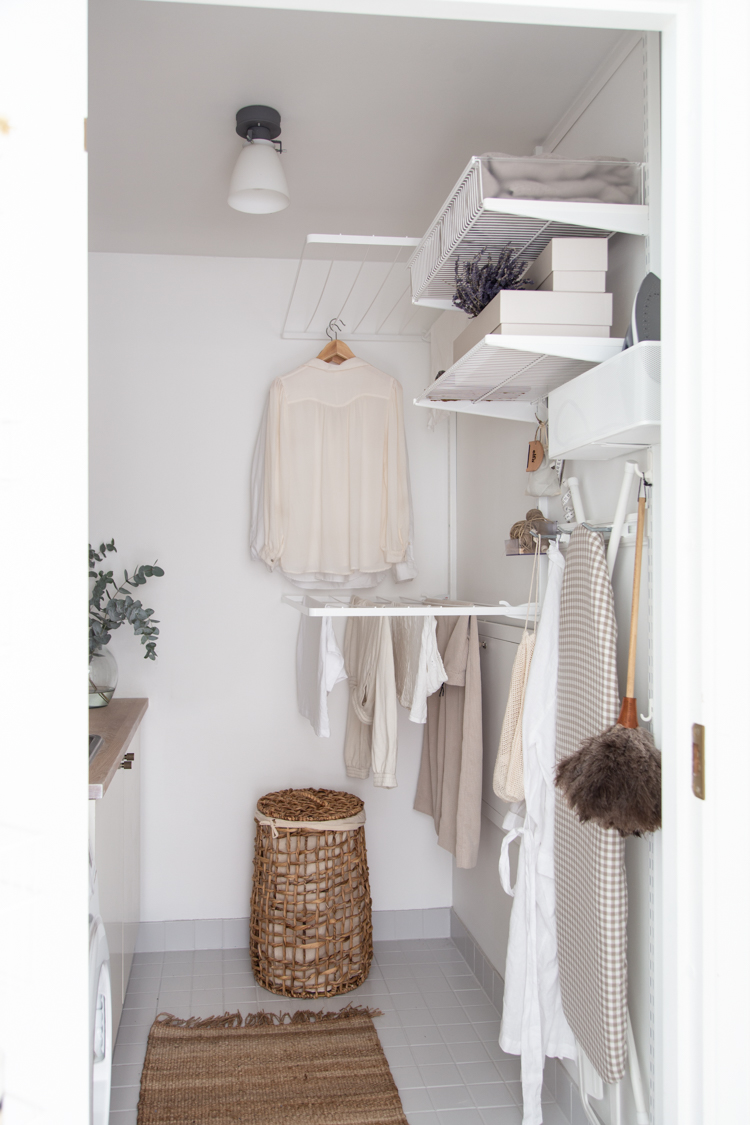
To the right of the room is the Elfa storage. We added two drying shelves, a wire shelf, a wire shelf basket, a storage track, storage track hooks and a clothing accessories kit.
Collapsible drying shelves

Above you can see how the drying shelves collapse against the wall to make room for other things like sorting clothes and ironing. We can also change the height or remove them entirely.
Shelves and hooks

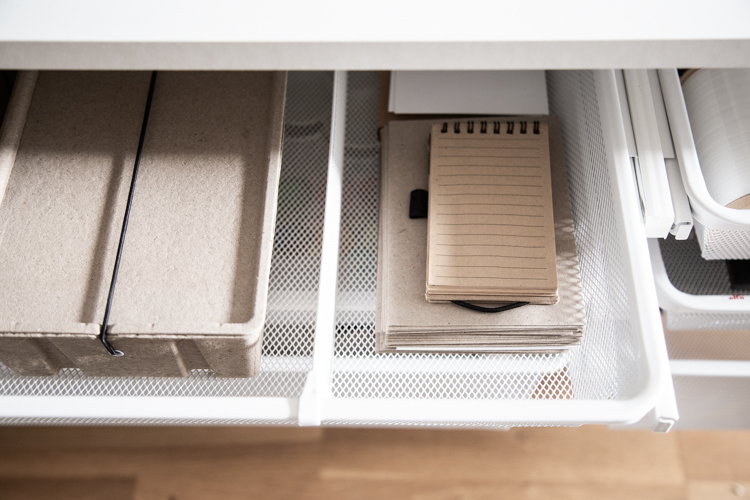
The high shelves are ideal for extra storage (the storage boxes are part of a set from the Marie Kondo collection from Studio Elfa in Malmö).
One of my favourite things is that now we can hang the iron from hooks. Oh, and did you notice I changed that gross ironing board cover to a new gingham one (from IKEA)?
I also swapped out the old laundry baskets for a pretty rattan one (there's another laundry basket in the cupboard opposite for 'overflow' - we're a family of five, after all!).
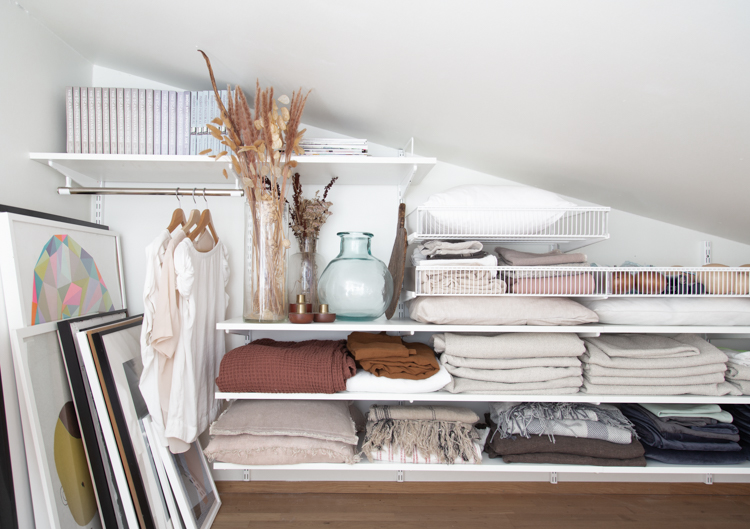
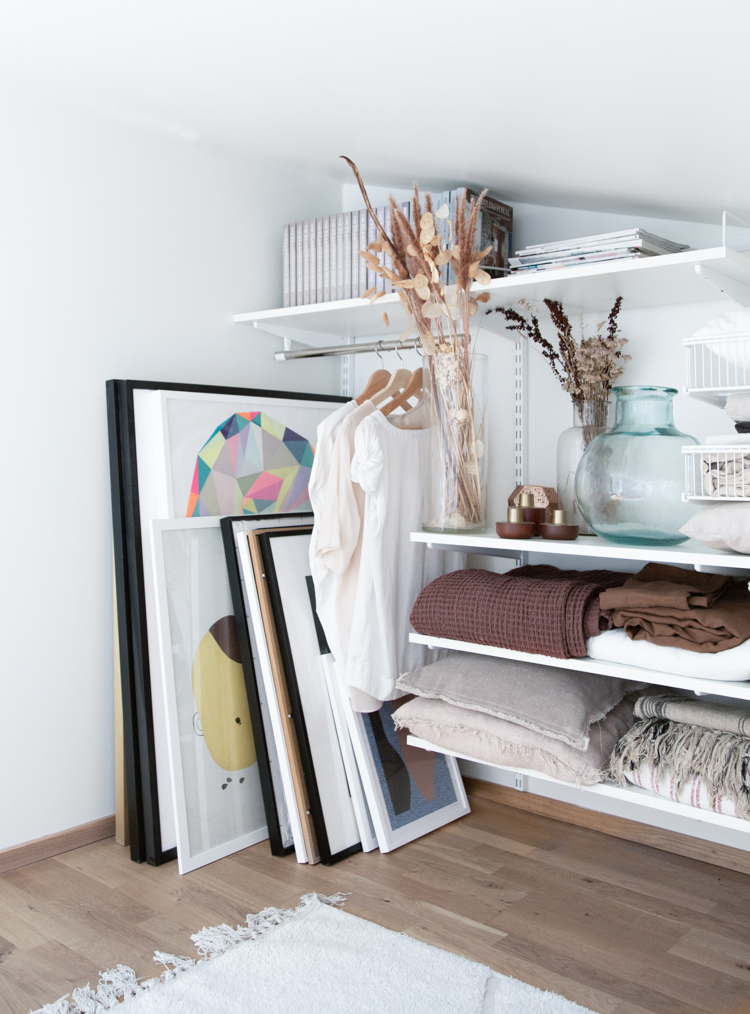
Meanwhile, on the other side of the room...
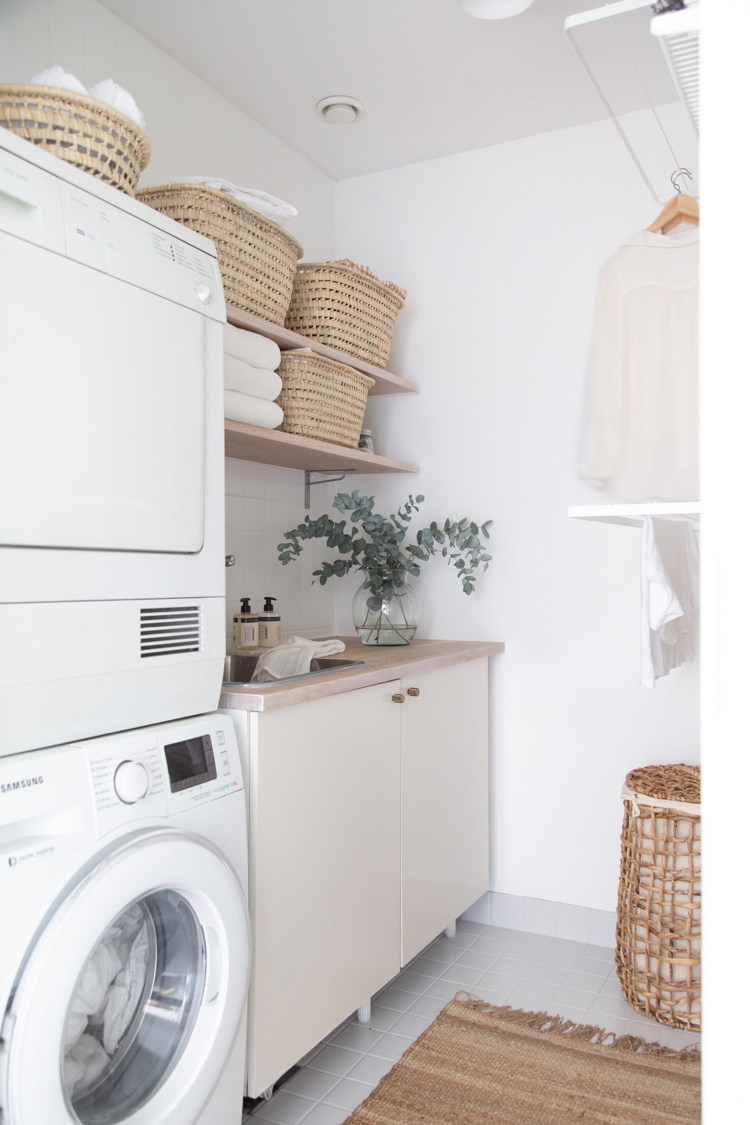
The lighter wood, white tiles and light grey floor have really helped to freshen up the space.
I also changed the door handles (it's all in the details friends!) - these are called Knob Helix, you might recognise them, as I have the same ones in our cabin kitchen. And I picked up the baskets in town to store our bed linen and towels - so much neater!
Door storage

Last but not least, the wonderful door storage is made up of a series of wire baskets which click into place. It's made space for all our laundry soap (I love Humdakin), cloths and other items - leaving the area around the sink clear.
And there you have it, our new laundry room!
Who would have thought that a room like this could bring so much joy (never thought I'd say something like that)?
I hope you like the transformation as much as we do!
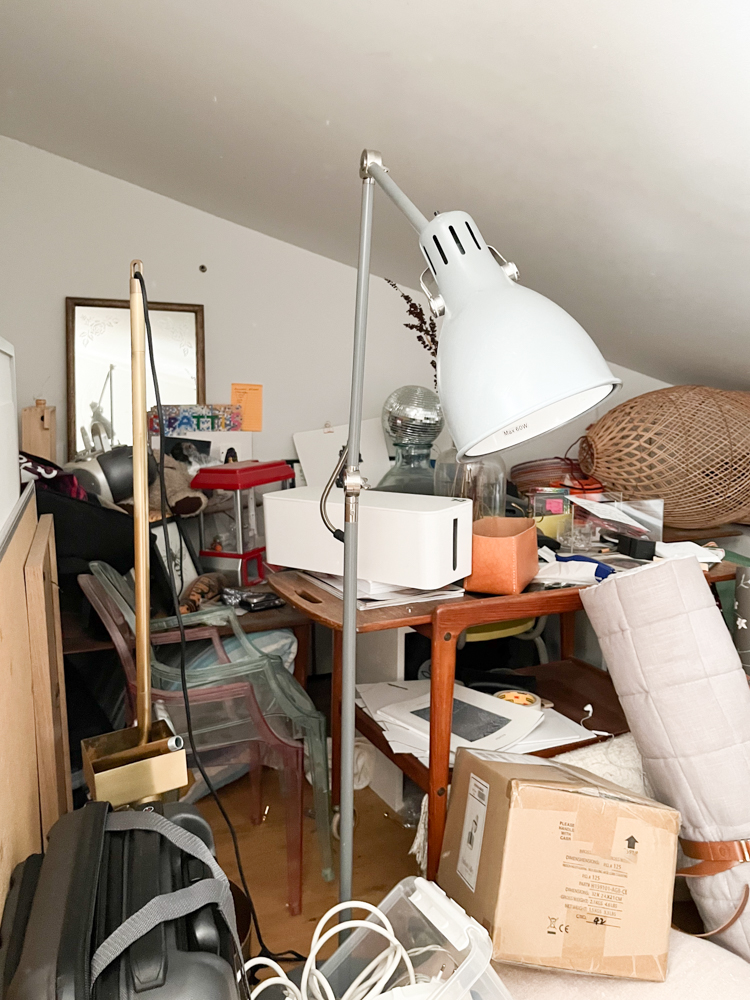
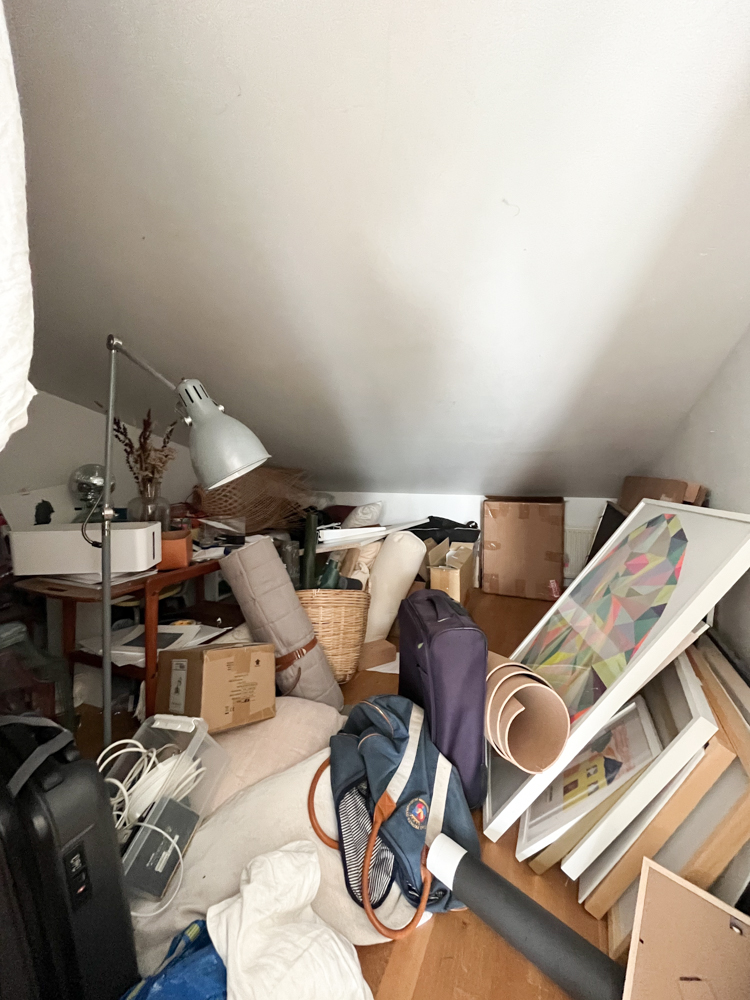
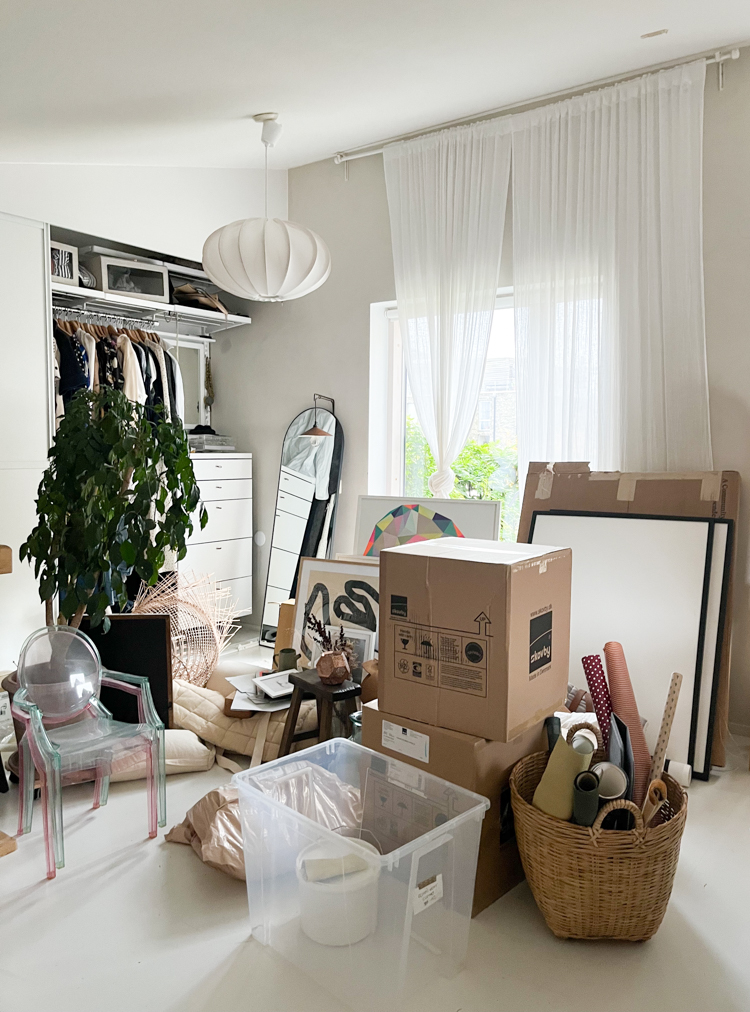
Next step... the attic (gaaaah!).
In the meantime, if you're in need of more storage at home, have a play arounds with the Elfa online 3D planning tool, or seek help from Elfa professionals (available pretty much worldwide) - you'll have your home organised in no time!
If anyone's looking for me this weekend... I won't be hanging out here in the laundry room, hopefully, but I am thrilled with it!
Have a great couple of days and see you Monday!
Niki
Photography: Niki Brantmark / My Scandinavian Home
Styling: Helen Sturesson
 25
25