Heeeeej there friends!
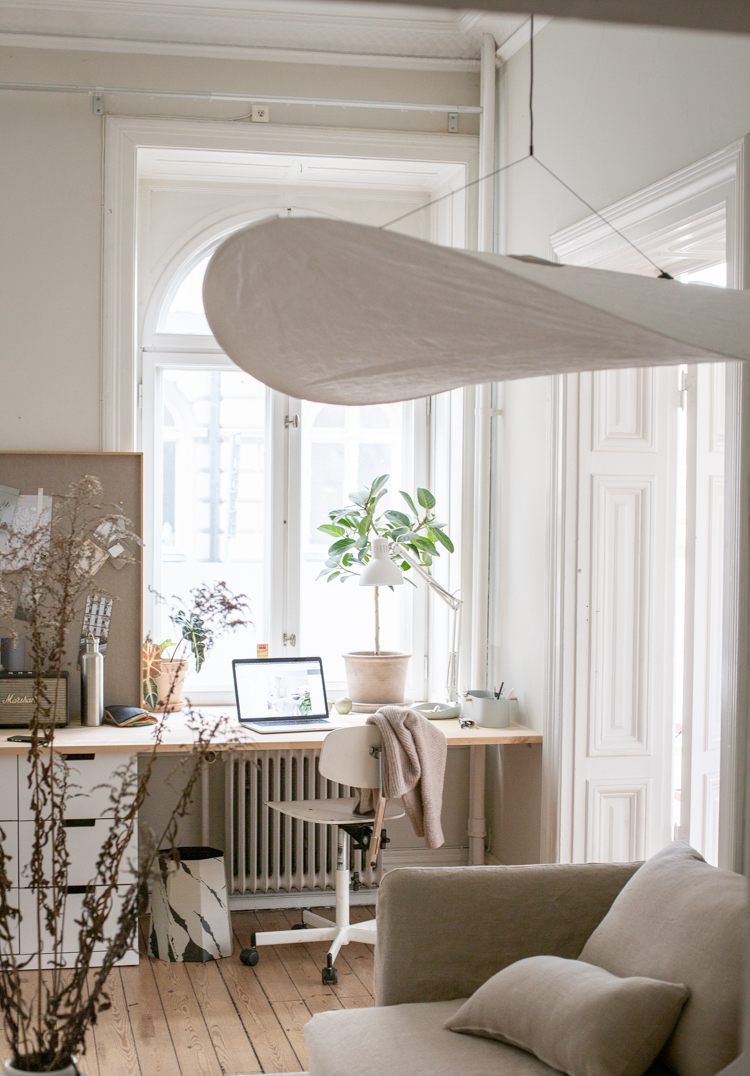
I'm writing this blog post from home this morning as later I'm be heading to Copenhagen for a meeting (it's a beautiful, sunny day so I can't wait!). I usually go into my studio to work these days, so sitting here at my desk got me thinking about how it needs a revamp (easily distracted, I know!). Which led me to the workspace in this Stockholm home. Funny how things can happen like that.
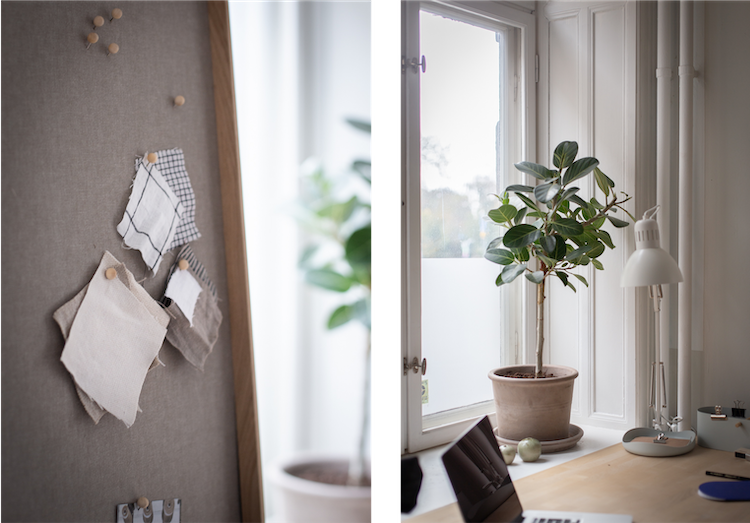
Although a simple space, the spot exudes charm in a very Scandi way! I particularly love the way the owners have painted an old gate-leg table grey and then placed it perpendicular to the window (it's always great to have natural light when you're working, but never directly from behind your screen). And the fabulous little Hay Matin table lamp is the icing on the cake! All that's left is an ergonomic desk chair and you're good to go. Oh, maybe a coffee first.
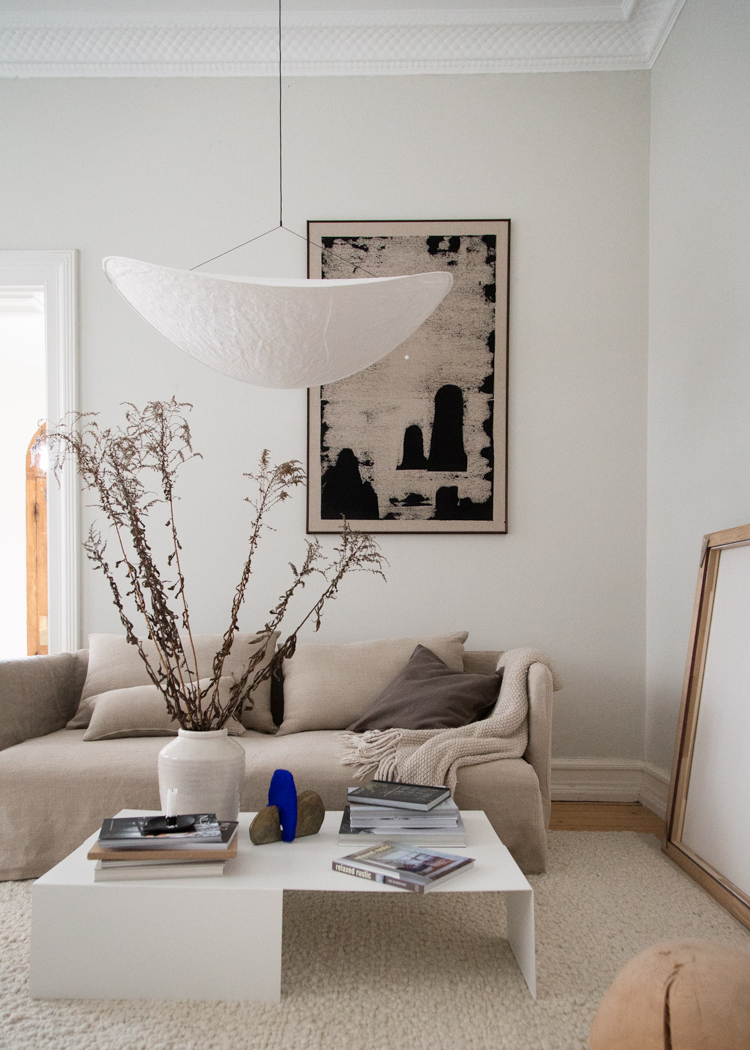
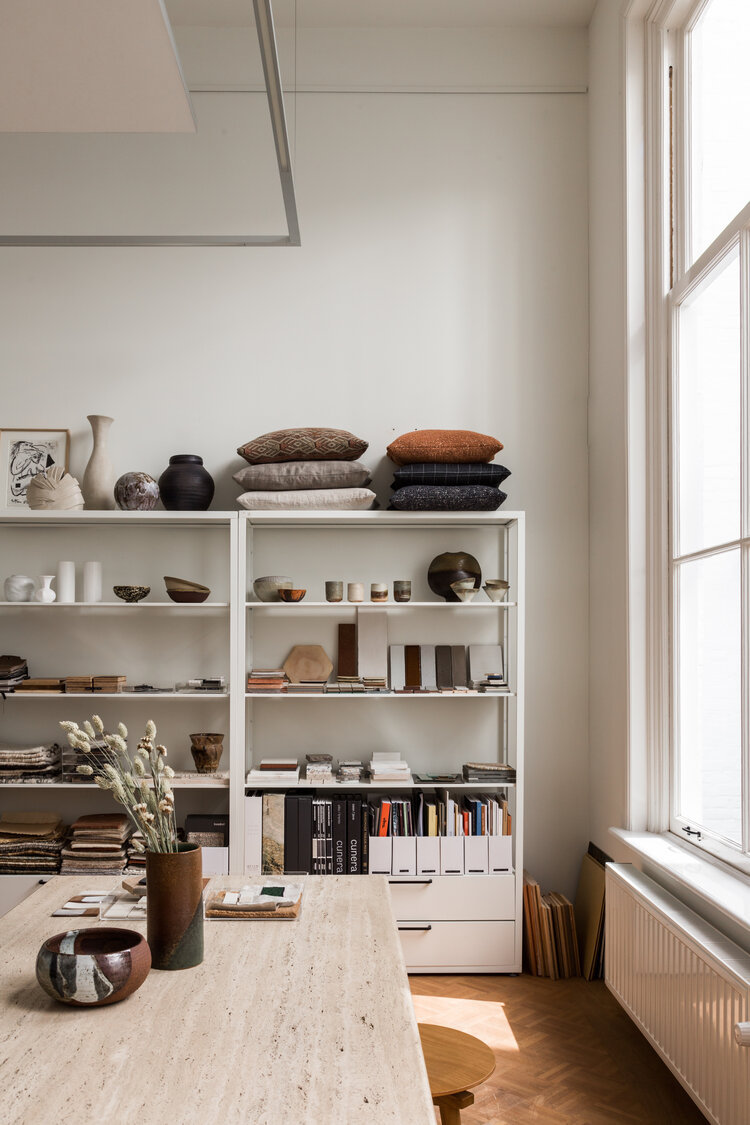
Oh, and of course I have thrown in the rest of the lovely Stockholm home too for you - after all, who doesn't love stacks of books, pops of colour, pretty spring-like wallpaper, and the odd dotty piece of furniture?
Varsågoda!


Very inspiring!
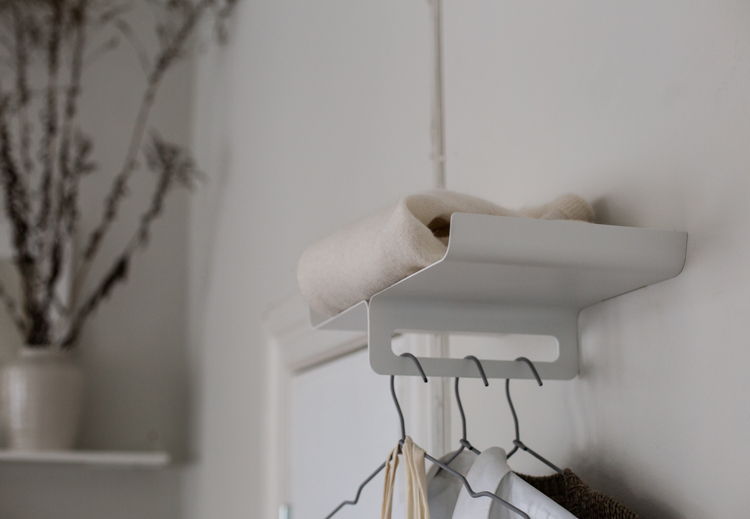
Incidentally, the pockets in the hallway are from Swedish brand Norrgavel ('påshylla')- they make for great hallway storage and something I've had my eye on for a while. You never know, my children might just put their things in them rather than on the floor. I'm not so sure though!
Note the stools dotted around. They look like vintage Artek 60 stools, which have become truly iconic!
Is there anything that stood out to you about this lovely Swedish family home?
Here are a few other home workspaces to feel inspired by today. If you're in need of a nice looking ergonomic chair, I've had this one for years.
And in case you'd like to see more Scandi homes dotted with colours, I love these:
Right, I'd better get myself ready for my trip over the bridge. If you're up for a virtual visit to the Danish capital in the sunshine today, I'll share some glimpses in my instagram stories!
Stor kram!
Niki
 5
5