This is a paid partnership with Hudson valley Lighting Group. All words are my own and I only ever work with brands I love.
The progress continues at the cabin! During the build we had spotlights fitted in the ceiling, which are all on dimmers. This set the basis for the lighting, and then I needed to add another layer - a more decorative one, but also directional to allow for reading, playing games etc. I.e. The fun part! Read on to see some pictures and find out more about the three new lamps in my life!
Stanton floor lamp

This little gem in aged brass was the ideal choice for beside the sofa as it is height adjustable, and you can swivel the shade to direct the light. The black and white marble base makes for a great 'anchor' too (with Allie doing her gymnastics all over the shop, there's not much chance of it toppling over!). Find out more about the Stanton at Hudson Valley Group International here.


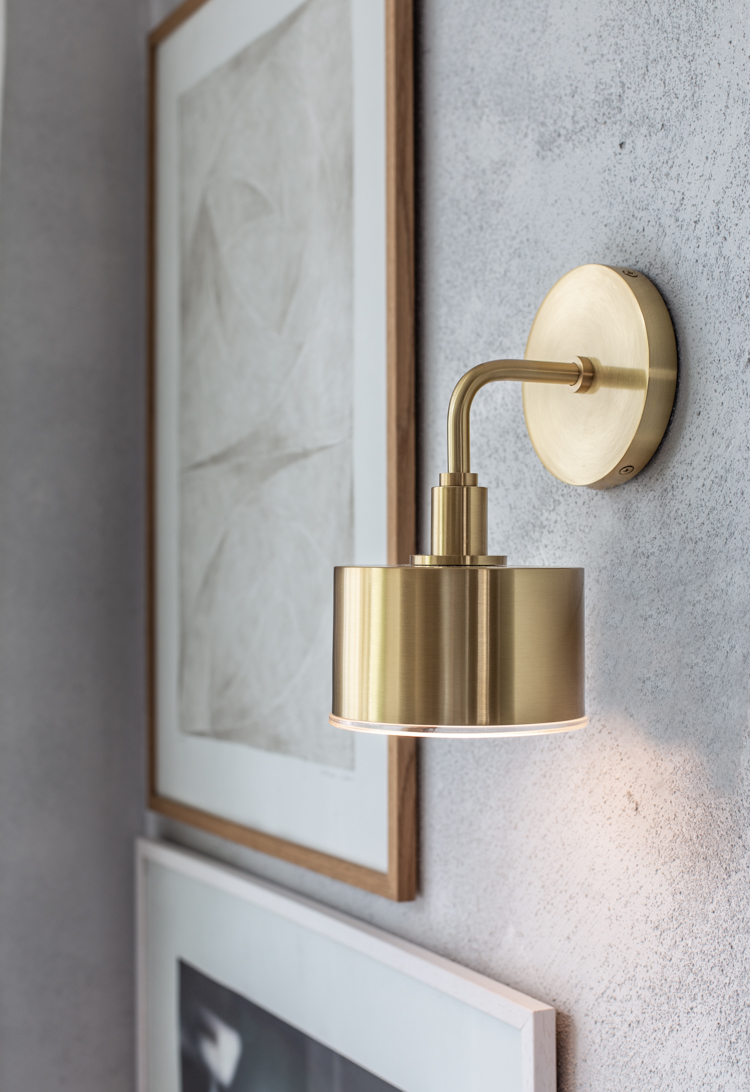
Chloe wall sconce

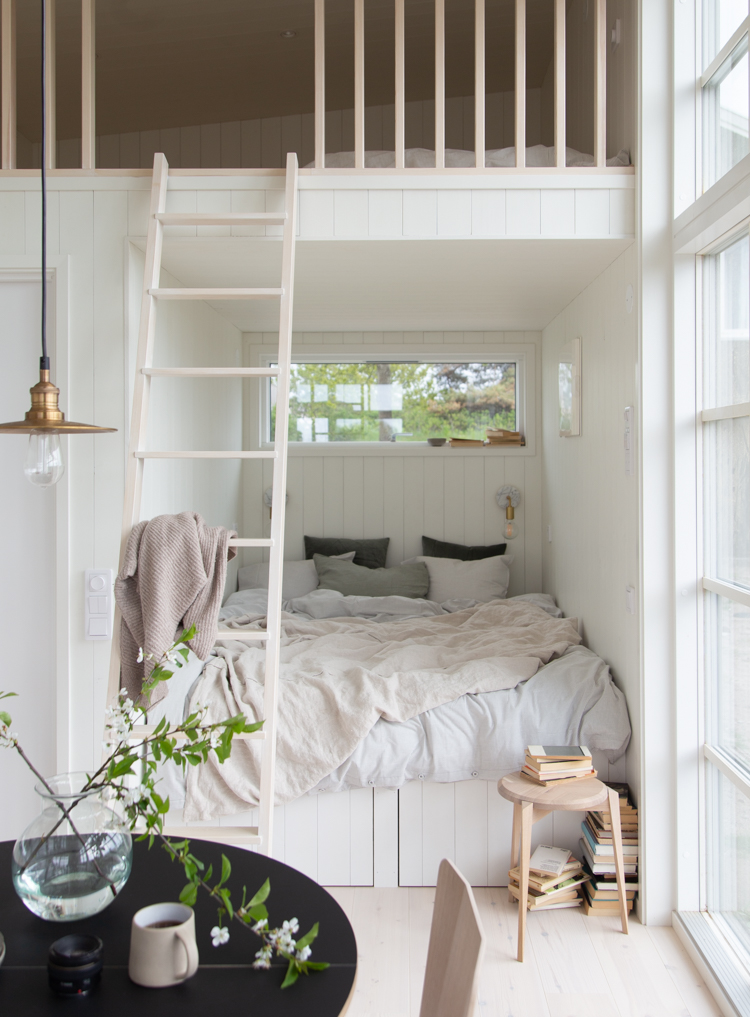
You might recognise the lovely Chloe wall sconce by Mitzi, as I also have one in my sitting room at home. It's a favourite as I'm a big fan of the aged brass and light grey marble combination. For our bed alcove I opted for two - both connected to a dimmer switch so we can choose between a bright light for reading or a warm glow for ambience - this was important as it doubles up as somewhere cosy to relax in the open-plan living area!

I love that this wall sconce works as decoration when not in use!


Beside the lamp you'll notice a power source. The idea is to add a little rounded corner shelf at some point for phones and other tiny items like watches etc. All these details take time!
Back home we added a third light from Hudson Valley Lighting Group:
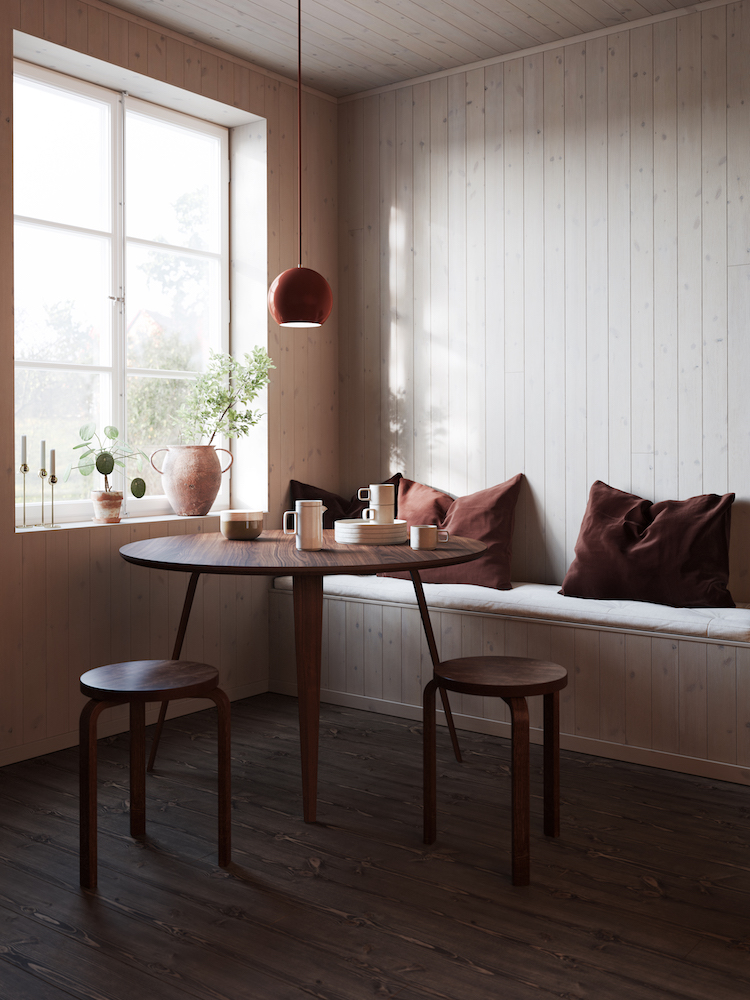
Nora Wall Sconce

This fine Nora Wall Sconce by Mitzi brass wall sconce is part of the same family as Nora Pendant which I installed in Liv's room. It's available in two finishes: aged brass or polished nickel, but you know me, I love a golden touch! This lovely light added just the warm touch we were looking for in our window nook - day and night! It's probably the most coveted spot in our house, but I've got a feeling it will be even more inviting now!


It's amazing what a difference lighting can make - whether to add decoration, create a warm and inviting feel, highlight a favourite painting or simply brighten up a corner. This weekend, why not do a light edit in your home and figure out what's missing. By adding a well-placed light you can completely transform an entire space and the way you use it!
See the entire lighting collection over at Hudson Valley Lighting Group.
Do you have a favourite?
Right, I might just go and drink that cup of tea ('English breakfast'! - you can take a girl out of England, but you can't take England out of the girl!) and relax for a while before the family come home.
Wishing you all a relaxing weekend. Vi ses på Måndag!
Niki
Photography: Niki Brantmark / My Scandinavian Home
Styling at cabin: Helen Sturesson. Styling at home: Niki Brantmark
 4
4