Scrolling

Before and After Vintage Wall Shelf Makeover

Thank you so much for all your lovely comments about our summer cottage master bedroom makeover on Wednesday. Per and I are so happy you like the update as much as we do! 

As promised, here is a post about how I transformed the pine wall bracket.

This wall shelf has been hanging on the bedroom wall in the summer cottage for many years (long before I arrived on the scene!). Needless to say, it belongs here! But the varnish on the pine had yellowed with age and while we all love the shape, the outdated look wasn't quite in keeping with the calm style we had envisioned for the newly revamped room. 

Caveat: I am not quite sure why there's an old mattress leaning against the wall in this picture obscuring the view - but I hope you get the gist as it's the only shot I have! 

So, we took it off the wall and I carried it to my studio where I scrubbed it down with soap and water (an important step!). 

I selected Tidlös paint by Jotun Lady to match the Sandberg wallpaper (the great thing about this paint is that I didn't need to sand down the wood first - but if you are looking to carry out a similar project on a wooden item, it's important to check the requirements first).  

I applied two layers of paint using two different paint brush sizes - one fairly small (featured) and the other very small (the knobs on the drawers were so fiddly!). Afterwards, I lightly sanded the edges of the drawers to ensure they slotted back into place and could be pulled in and out freely. I've learnt this from my childhood home - I had an antique chest-of-drawers in my bedroom and would need to wiggle the drawer for about 20 minutes just to get to my socks, it used to drive me insane! 

Once the paint had dried, we hung it back on the wall using a spirit-level app on the phone (have you tried these types of apps? so handy!). 

Aside from drying time, the entire process took about 2 hours. 

And hey presto! A brand new shelf! 


I hope you like the results and feeling inspired to revamp something unloved too. 

Who knows, perhaps you'll be looking at that piece at home that you were thinking about chucking out with new eyes now? Or maybe you'll discover a tired looking item of furniture in a loppis (flea market) that no one wants this weekend and give it a fabulous revamp? If you do, I'd love to see the pictures! 

Happy Friday friends! 

Niki

Twitter FaceBook

Pin It
9

How a Vintage Cigar Cabinet Became Perfect Home Storage


I was so intrigued by the incredible vintage cabinet in Jana Roach's home yesterday that I had to dig deeper. Where did they find it? And most importantly, how did they manage to find the exact size piece required for the space? Read on to discover that not all is always as it seems... and sometimes it takes a whole load of imagination and some hard work to make the vintage piece you fall in love with fit your home! 

The original piece: 
Jana and her husband Tanner were in a second-hand building materials store in Seattle, US in March 2019 when they came across this old cigar display. 

They immediately fell in love with it, but the unit was way too big for the space they had - plus the slanted shelves (originally used for displaying cigars) were far from practical for kitchen storage. 

Many would have been deterred, admired its beauty and walked on. But not Tanner and Jana

The space
They could see its potential as a cabinet for their new dining room. The unit and the space just needed some work! 

What they did
Since the cabinet had no back, they prepped the back wall with white subway tiles. They opted for white grouting so that it wouldn't take over from the items in the cabinet. 

The cabinet was then modified to fit the space. This meant cutting off one of the bays, raising it by around 6 inches and adding a crown trim, base and side. The shelves were also levelled. 

The result:


I love this transformation! 

Looking at some of these homes, it can appear that everything has just effortlessly fallen into place, but it's not always the case - often there's a whole level of imagination and hard graft involved! 

Jana always recommends taking a tape measure to flea markets and reclaim yards. You never know - you might just stumble across a piece you love, and even if it's not quite right in terms of size or colour you might just be able to adapt it for your home and give it an entirely new lease of life anyway! 

Have you up cycled / renovated any second-hand pieces in your home? If so, I'd love to hear about them! 

Niki

PS I don't usually publish posts on Friday, but tomorrow will be an exception - and it's dedicated to anyone who has been wondering whether or not to install a woodturning stove! 

Photos courtesy of Jana Roach, shared with kind permission.

Twitter FaceBook

Pin It
2

10 Scandinavian Christmas Crafting Ideas (Many are Edible!)


If there's one thing I really admire about the Scandinavians, it's their passion for crafting and DIY. And at Christmas there's no stopping our dexterous Nordic friends. Referred to as 'Julpyssel' adults and children across the country are busy rolling out gingerbread dough, perfecting their Christmas caramel, carving out paper snowflakes to hang in the window and finalising candle holders with moss. If you'd like to channel your inner Scandinavian and get crafting this week, here are 10 Christmas DIY ideas to get you started: 

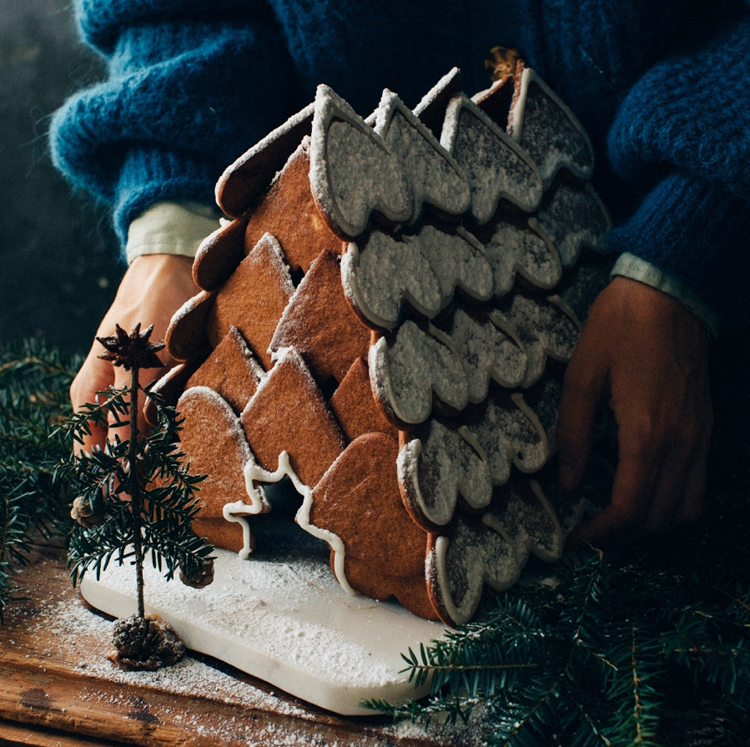
1. A-Frame Gingerbread house: a favourite in Sweden, edible gingerbread houses look so pretty at Christmas. If you're a novice, it might be best to start with a kit (they sell them at IKEA!), but I also love this fab A-frame cabin made from heart shaped gingerbread!  


2. Mini gingerbread houses: These pretty houses can be hung in the window or on the tree (they might also get eaten on the way - and who'd blame you!). Instructions / recipe here


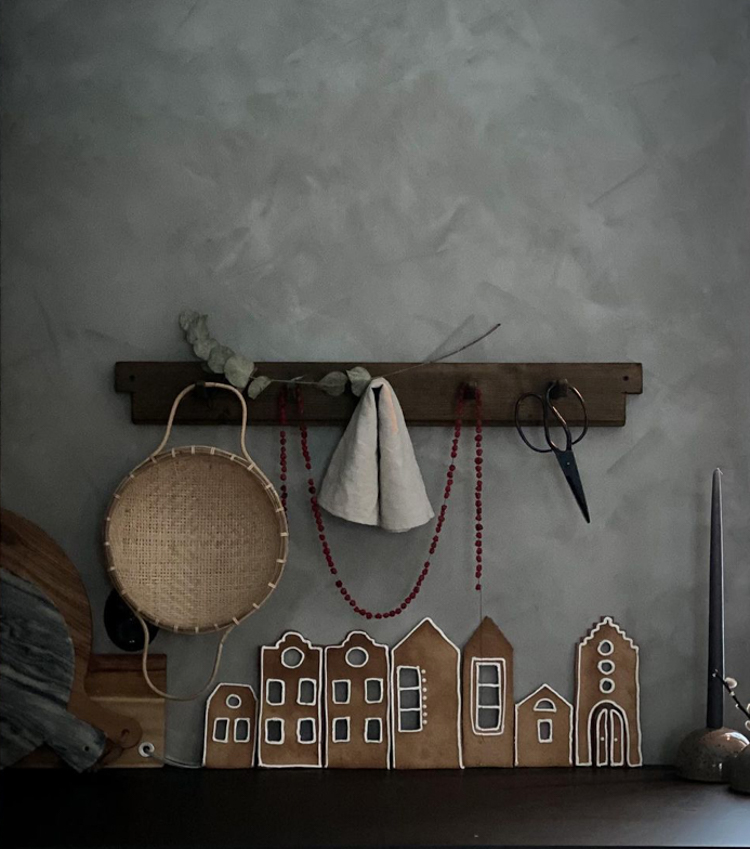
3. The gingerbread village: Why create individual houses, when you can make an entire village? There's so much fun to be had creating a skyline, and you can eat it afterwards too. 


4. Mini gingerbread drink decorations: Imagine serving hot chocolate with this little touch - hygge personified! Instructions  here


5. Julkola (Christmas caramel): Who doesn't love homemade sweets at Christmas? Caramel makes a perfect addition to the table too - or wrapped as a present. Original recipe here (in Swedish), English recipe here

Dörte Janusxzewski / @lewesmap

6. DIY snowflakes made from cardboard: These pretty decorations made from loo roll cartridges (or straw, toothpicks, newspaper - just about anything!) look just as pretty on the tree as they do hung in the window! Instructions here. 


7. Window drawings: Looking a little grey outside? Why not grab a white pen and create a pretty Christmas display to brighten up your view? 


8. Paper flowers: Colourful crepe is a perfect material for making pretty paper flowers. Place them on mini trees, in a bowl or create a garland. Know-how here. 


9. DIY Forest friends wrapping: put a smile on your children's faces with these cute forest friend Christmas wrapping ideas! 


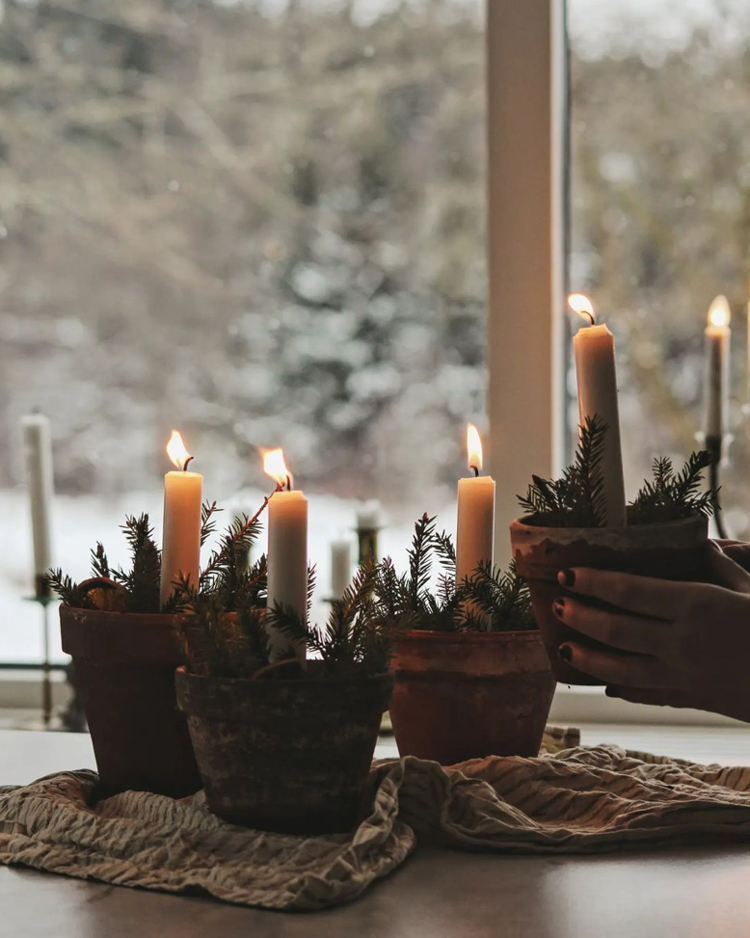
10. Candle displays: Small plant pots make a perfect candleholder at Christmas time. Simply fill them with soil, a little moss and some small branches from a fir tree. 

So many great ideas here. Can you imagine making any of these? 

What do you make at Christmas? Inspire us in the comment section below! 

More Christmas DIY ideas here: 


Have a great start to the week!

Niki

Twitter FaceBook

Pin It
5

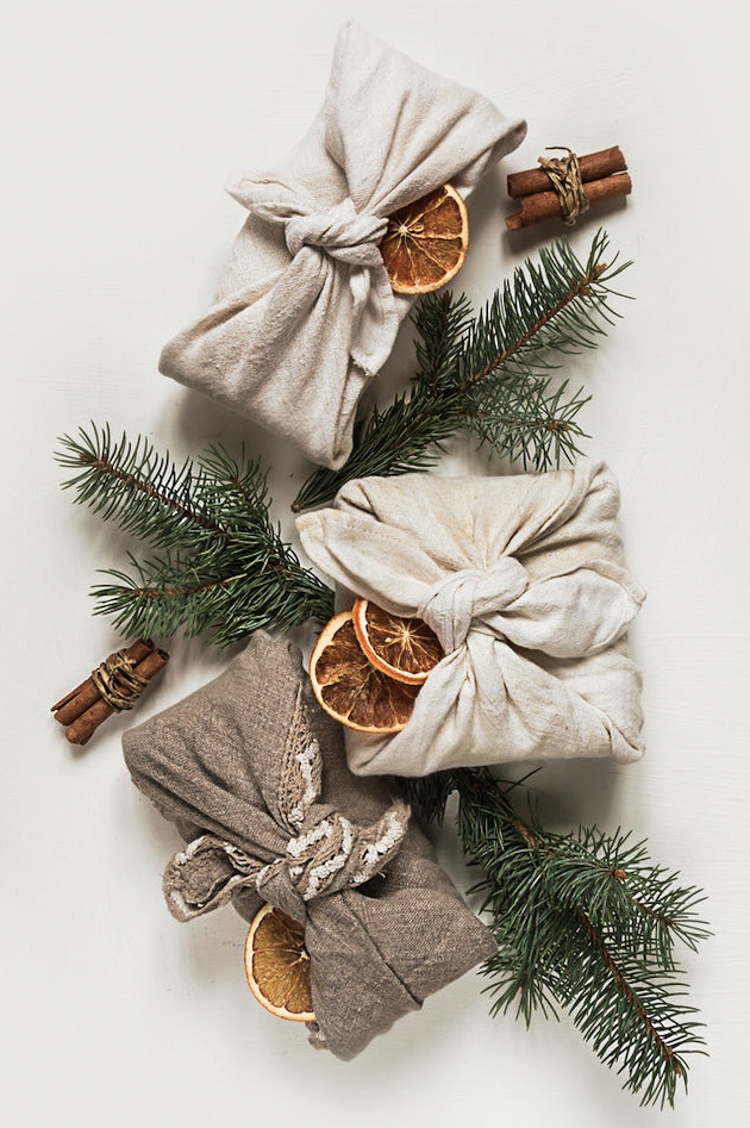
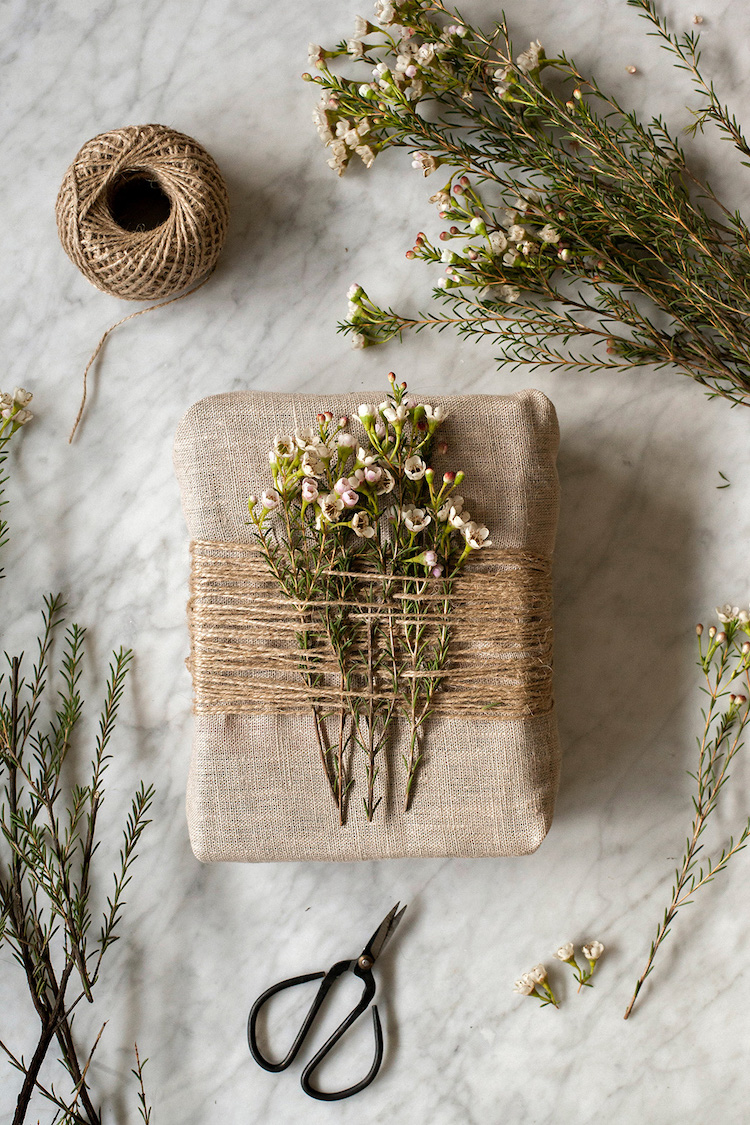
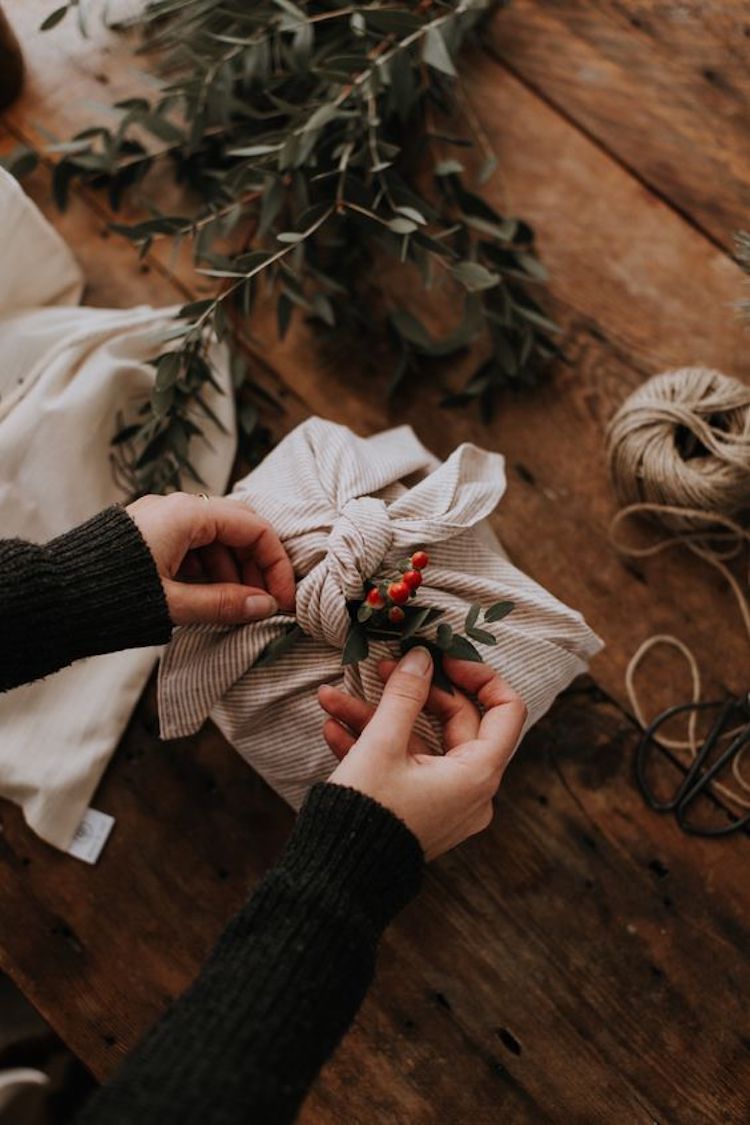
7 Christmas Gift-Wrapping Ideas Using Cloth (Furoshiki)


Back in October I thought to myself "this year, I'm going to be super organised people and buy / make / bake all my Christmas presents well in time". Fast forward two months and I'm in the same position as I am every year - a few things left to buy, none wrapped. But this weekend, things are about to change. Once I've ticked everything off my list, I'm going to attempt a new gift-wrapping method: Furoshiki

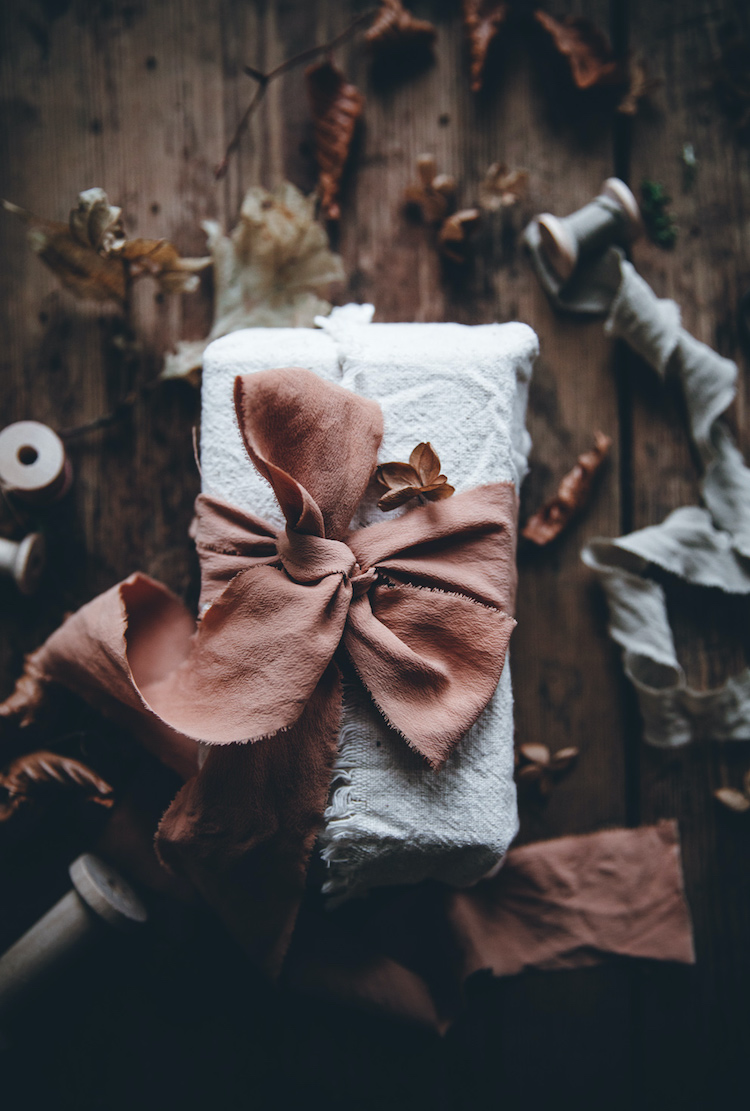
For those of you not familiar with it, Furoshiki is a Japanese square-shaped cloth traditionally used to wrap and transport goods, with a focus on aesthetics (I like the sound of this already)! Although less formal than 'fukusa' which is used to present more formal gifts, Furoshiki is becoming increasingly popular in the design world. And the good news? You can wrap your presents in just about any fabric you have at home: silk, cotton, linen, nylon. As long as you can fold it, you can use it! Feel inspired? Here are 7 examples of beautifully cloth-wrapped presents to get you started! 

1. Top picture: Beth Kirby has used linen and silk to wrap her Christmas gifts.

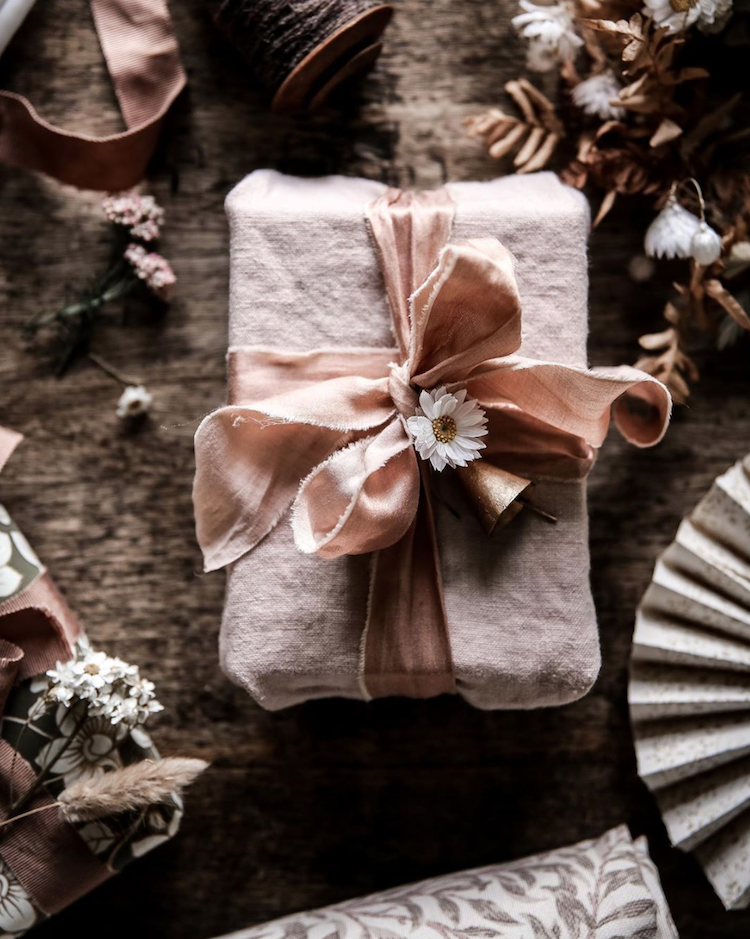
2. Forever the romantic Swede, Anna Kubel has added a pretty flower, to her wrapping although any Christmas bloom will do!

3. More of a simple fold held together with safety pins, this delightful wrapping would look equally pretty with a sprig of eucalyptus, boxwood or holly as it does dried flowers.

4. Pretty berries add a touch of colour to this linen wrapping. 

5. Dried oranges, spruce and cinnamon add a divine smelling, decorative touch to wrapping. 

6. Dried wild flowers make a pretty touch - anytime of the year! 

8. Or for something completely different, why not wrap your presents in knit - they'll be as snug as a bug in a rug - and look pretty too! 

So pretty, and this is all very well, but I noticed that there are no awkward shaped items here like a football or a bottle of wine! No fear though, as there are many different Furoshiki techniques you can use - find out more here

What do you think, could you imagine using the art of Furoshiki this Christmas? 

More gift wrapping inspiration: 

8 beautiful rustic gift wrapping ideas

Wishing you all a wonderful weekend! Happy wrapping! 

Niki

Credits in order: Anna Kubel, Beth Kirby, no credits found,  Majamas Earth, ShyntatamyaDécouvrir DesignAdventures in Cooking - shared with thanks. 

Twitter FaceBook

Pin It
4

How To Make Swedish Christmas Angels From Paper

Swedish photographer Malin Mörner has been at it again - this time creating the most beautiful DIY paper Christmas angels.  You might recall her DIY baubles, paper chains and stars last year, and now Malin has shared the step-by-step instructions on how to create this Christmas decoration out of wallpaper.  Read on to discover how to make your own 'choir of angels'! 

What you need: 
- Paper
- Wooden beads
- White cotton thread
- Glue gun
- Double sided sticky tape
- Hole punch
- Sewing needle 

What to do: 

1. Cut the paper into sections according to the following measurements: 
To make small angels: wings 8 x 12 cm, skirt: 11.5 x 13 cm (width x height)
To make big angels: wings: 11.5 x 14 cm, skirt 14 x 16 cm (width x height)

2. Fold each section into a concertina shape - starting at the shorter end, with each fold around 1 cm in width. 

3. Shape the ends of the folds with scissors (creating rounded ends, points or hearts) or use the hole punch to create a pattern. 

4. Fold your concertina paper in half and make a hole through the middle, cutting through all the layers. 

5. Glue the wings (the smaller section) to the skirts (the larger section) 

6. Use the needle to guide the string the entire way through the holes in the skirt and wings and tie a knot at the bottom so that it stays in place. 

7. Thread the bead onto the string above the wings, pull it tight and then glue the bead to the wings. Knot the string at the top, leaving a fairly large loop with which to hang your angel. 

8. Unfold the skirt and glue the inner edges to one another to form a skirt. 

And that's it! You have your choir of angels! 

I hope you have a fun time making these! See more pictures and instructions over at Böråstapeter

Looking for other DIY Christmas decoration ideas? How about: 


Wishing you all a great start to December - it's snowing here which tells me it's going to be a cold one but a fun one! 

Niki

Photography Malin Mörner shared with kind permission

Twitter FaceBook

Pin It
3
One Swedish Apartment, Two IKEA hacks!

Hejsan! One thing I've learned over the years, is never walk around a flea market (or IKEA for that matter) and see everything at face value. Instead, see it for its potential! Love the shape of a cabinet but not sure about the wood? Paint it. Love the legs of a table but dislike the top? Change it. There is SO much you can do! Just look at the bed in the home of Hanna Söderström. Hanna loved the shape of a second-hand bed frame but wasn't keen on the heavy, dark wood, so she painted it in a wonderful grey to blend in with the walls - and it gave the piece a whole new lease of life in the process! 

For a more simple approach, take the IVAR cabinet from IKEA. It's become one of the most hacked items in the collection, and you rarely see a Swedish home without it. In this lovely open-plan Gothenburg apartment, it pops up twice, can you see where? Enjoy the tour, there are plenty of other ideas to steal too! 

I love the layout of this open-plan living space - it has a zone for everything! Pay special attention to the lamps too, which include the Formakami pendant* and Panthella table lamp* - both fabulous! 

It's amazing what a single branch from the garden / surrounding area can do for a space - plus it's free!

Styling tip: it's hard to find really tall indoor plants without paying through the roof. Place larger plants on stools to give the illusion of height and keep it from marking the floor (at least, until you've lovingly nurtured it to grow to the ceiling!). This teak round stool* is similar.  

IKEA IVAR cabinet hack number one: the exterior has been painted in a fab salmon pink to add a touch of colour to the children's bedroom. The shade also helps to tie the bedroom in with the hallway. It's also been given new legs (available from companies such as Pretty Pegs). 

IVAR cabinet hack number two: in the hallway the same cabinet has been adapted with a ribbed front and new pine legs. If you're a bit of a dab hand, you can easily recreate this look with wood from your local DIY store. If not, try companies such as Superfront - who make cabinet doors, handles, knobs and legs for IKEA furniture. 

Sidenote: I updated an IVAR cabinet in Liv's room. Note that it was originally designed to be wall mounted and can be unsteady when you attach legs so make sure you fasten it to the wall to avoid injury to yourselves and objects! 

Styling tip: Sometimes hallways are just too narrow / small to add a load of furniture and can feel a bit bare if painted one shade. Wallpaper like this one, helps to add interest without cluttering up the space. 

Do you like to hack furniture? If so, please do share your tips / favourite hacks in the comment section and inspire us! 

I loved hearing the debate on wrinkled / non-wrinkled bedding in the comment section on Friday! What are your thoughts on this? 

I'm about to shoot off to photograph a beautiful autumn piece in my sitting room (keep an eye on instagram tomorrow to see what it is!) - but before I leave, here are a couple of other homes you might like: 


Vi ses imorgon! 

Niki

This home is for sale via Alvhem. Photography: Henrik Linden, Styling: Grey Deco Interiors

Twitter FaceBook

Pin It
2

Subscribe To My Scandinavian Home

Subscribe to My Scandinavian Home

skovby ad


site by ANAAR

This website uses cookies to ensure you get the best experience on our website.
MORE INFO